Skip to content
I'll show you in two sentences how to plesk ubuntu cleanly and make it ready for hosting. With these instructions, you can set up Plesk securely, avoid typical errors and quickly set up websites, e-mail and databases.
Key points
- PrerequisitesCheck supported Ubuntu versions, RAM, CPU, disk space.
- InstallationUpdate system, open firewall ports, start installer.
- SecurityActivate SSL, updates, Fail2Ban and firewall directly after setup.
- ConfigurationCreate admin access, license, domains, e-mail and databases.
- PerformanceSelect PHP version, activate HTTP/2, use caching and monitoring.
What is Plesk? Briefly explained
Plesk is a Control panel for servers, which I use to centrally manage websites, databases, e-mail and security functions. I work via browser and perform routine tasks without long console entries. The interface offers clear menus for beginners, while professionals appreciate automation and extensions. I install modules such as WordPress Toolkit, backup or monitoring with just a few clicks. On Ubuntu Plesk runs reliably and receives regular updates.

System requirements and compatibility
Before I install Plesk, I check the Hardware and the supported Ubuntu version. For productive setups, I rely on 2 GB RAM or more and at least 40-50 GB storage space. A clean network connection saves me trouble when downloading packages. I keep the machine as lean as possible and do without other panels. The following table shows the most important ones Values at a glance.
| Component | Minimum | Recommendation | Note |
|---|---|---|---|
| Ubuntu | 18.04/20.04/22.04 LTS (64-bit) | 20.04 or 22.04 LTS | LTS versions get long Updates |
| CPU | 1 GHz, 64-bit | 2+ vCPU | Accelerate more cores Builds |
| RAM | 1 GB + 1 GB swap | 2-4 GB RAM | More RAM for WordPress-Hosting |
| Memory | 20 GB | 40-80 GB | Enough space for Backups |
| Net | Outgoing HTTP/HTTPS open | Low latency | Important for Updates and Installer |
Prepare server: clean Ubuntu
I start on a fresh Server without other panels such as cPanel or Webmin. This avoids package conflicts and saves me troubleshooting later. I set a hostname correctly, ideally as an FQDN such as panel.yourdomain.tld. I keep the package sources to a minimum and only leave the standard repositories active. For professional projects I pay attention to SSD-memory and sufficient I/O performance.

Step 1: Update system
I first update the Systemso that libraries and kernels are up-to-date. This is how I close security gaps and minimize incompatibilities. The update runs quickly and only requires a reboot in the event of kernel changes. After the reboot, I check the accessibility via SSH. I use the following commands on Ubuntu before each installation:
sudo apt update && sudo apt upgrade -y
[ -e /var/run/reboot-required ] && sudo reboot
Step 2: Open the firewall
I allow the most important Ports in UFW so that web and panel are accessible. In addition to 80/443 for websites, Plesk needs its own administration ports. After activation, I test the accessibility later via the browser. A clear overview helps with checks and audits. The table shows the usual Rules:
| Port | Protocol | Purpose | Comment |
|---|---|---|---|
| 80 | TCP | HTTP | Web access without SSL |
| 443 | TCP | HTTPS | Web access with TLS |
| 8443 | TCP | Plesk Panel | Login to Dashboard |
| 8880 | TCP | Plesk HTTP | Unencrypted Access (rare) |
| 8447 | TCP | Installer | Updates and Add-ons |
sudo ufw allow 80/tcp
sudo ufw allow 443/tcp
sudo ufw allow 8443/tcp
sudo ufw allow 8880/tcp
sudo ufw allow 8447/tcp
sudo ufw enable
sudo ufw reload
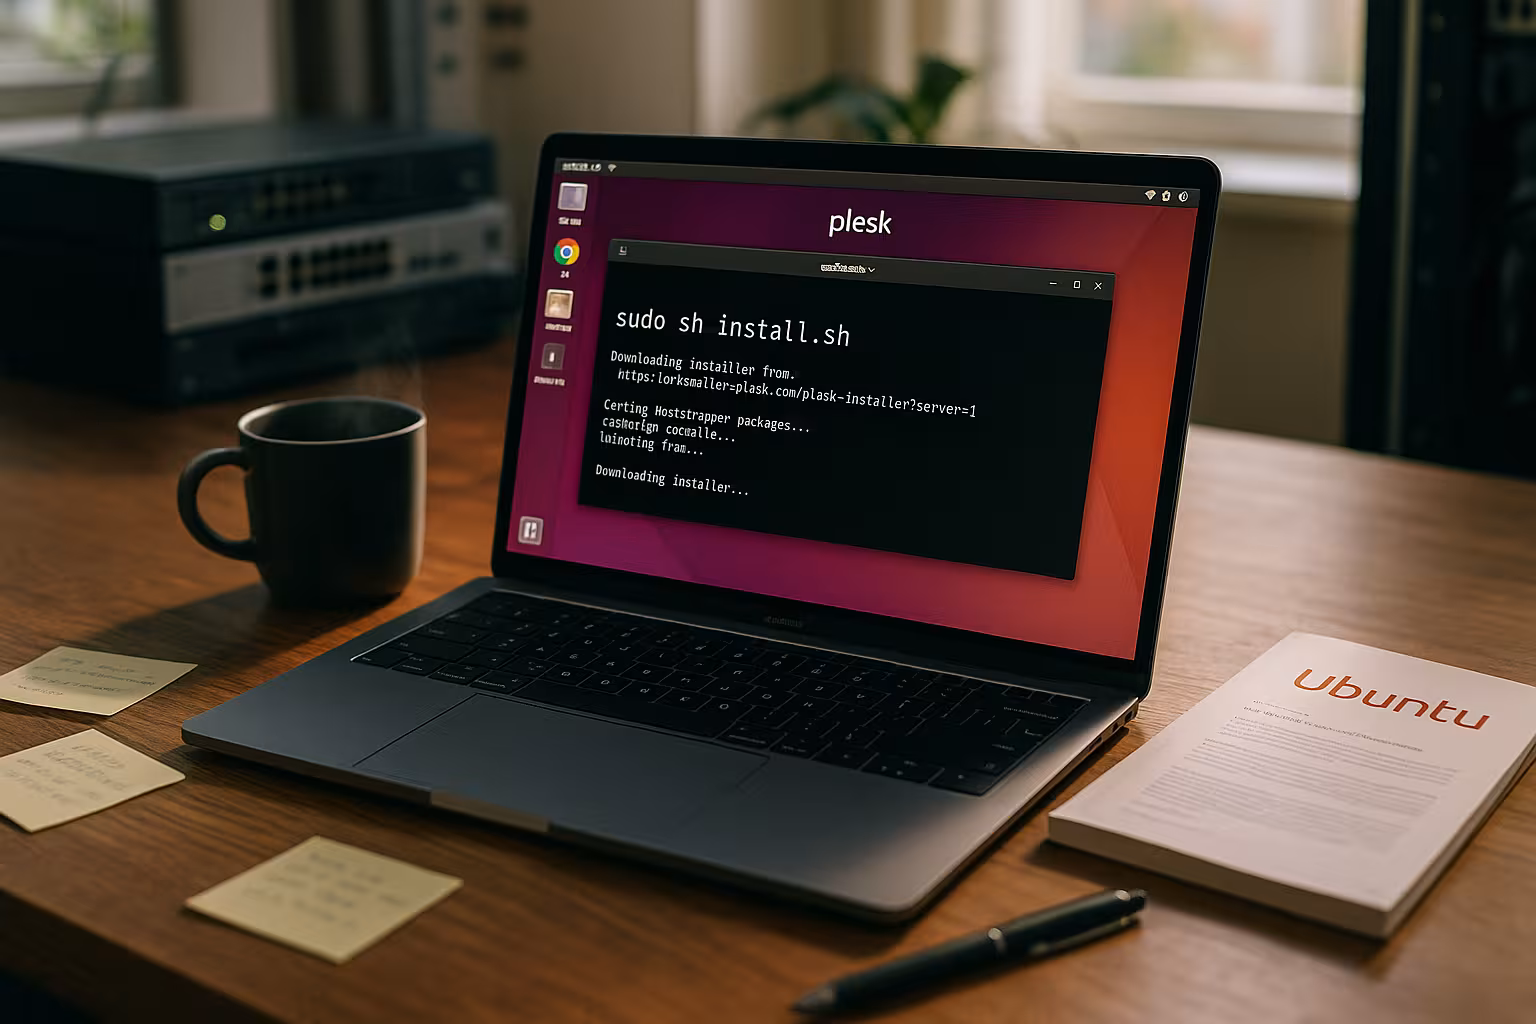
Step 3: Tools and installer
For the download I use wget or curl, depending on your preference. If wget is missing, I install it with a short command. I then download the installer from Plesk and make it executable. I keep the console open so that I can see feedback immediately. This keeps the Procedure comprehensible:
sudo apt install -y wget
wget https://autoinstall.plesk.com/plesk-installer
sudo chmod 755 plesk-installer

Step 4: Start Plesk installation
I start the installation either in the Console or via the web interface. For a guided setup, I like to use the web version, which gives me a URL directly. In the browser, I select the recommended component selection, set the language and confirm the license conditions. Alternatively, I work with the one-click installer and have standard modules set automatically. The following commands are available Choice:
sudo ./plesk-installer --web-interface
# or One-Click
sh <(curl https://autoinstall.plesk.com/one-click-installer || wget -O - https://autoinstall.plesk.com/one-click-installer)
Step 5: Initial setup in the browser
After the installation I call https://SERVER-IP:8443 and log in with root or the admin account. I set a clear administrator name, the notification e-mail and a strong password. If I don't have a license, I quickly activate the trial version and decide later. I also check the time zone, language and host name in the tool settings. The panel starts immediately with useful Defaults.

Set up security immediately
Immediately after logging in, I activate SSL via Let's Encrypt for the panel and my domains. I update components via the Plesk updater so that security fixes are active immediately. Fail2Ban and the Plesk firewall significantly reduce attack surfaces. I also set strong password rules and deactivate unused services. With these Steps I reduce the risk on the very first day.
Manage websites, e-mail, databases
I first place the Domain and assign it to a web space. I then set up an SSL certificate, a PHP version and the database for the application. For WordPress, I use the toolkit, which offers updates, security checks and staging. I set up email accounts with Quotas and spam protection. For a structured start, this helps me First steps guide with practical sequence, including Checklist.
PHP 8.2 for performance
For fast websites I choose a modern PHP-version like 8.2 and activate PHP-FPM. I check the compatibility of my applications and switch between versions per domain if necessary. OPcache should be active to noticeably reduce response times. I read error logs in Plesk to customize extensions. This article provides a deeper insight into PHP 8.2 in Plesk with tangible Tips.
Activate HTTP/2
For shorter loading times I activate HTTP/2 in the web server and use TLS with an up-to-date cipher suite. The protocol has clear advantages, especially for many assets. I test the configuration with common tools and observe latencies in the monitoring. If necessary, I minimize resources or use compression. A practical guide to the HTTP/2 support helps with sensible Settings.
Automation, backups and monitoring
I set up regular Backups locally and, if required, in remote storage such as S3-compatible destinations. I prevent rotations through clear retention rules and notifications in the event of errors. Plesk monitoring shows me load, RAM and services so that I can quickly identify bottlenecks. I use task planners and hooks for recurring tasks. This allows me to plan my hosting and save Time in everyday life.
Set up DNS, mail and deliverability correctly
To ensure that emails arrive reliably, I set up DNS properly. I set A/AAAA records for the domains, a PTR record (reverse DNS) for the server IP and correct MX records. I activate the following via Plesk SPF (TXT record v=spf1), DKIM-signatures and DMARC with a moderate policy (e.g. p=quarantine) to start. The HELO identity of the mail server must match the host name. For outgoing mails, I limit rates to reduce the risk of spam and I monitor bounces. If I am not running the DNS in Plesk, I transfer the entries exactly to the registrar/external DNS.
# Example SPF (only server + allowed providers)
v=spf1 ip4:SERVER-IP include:_spf.provider.tld -all

# Minimum DMARC record (start carefully)
v=DMARC1; p=quarantine; rua=mailto:[email protected]; fo=1
If I use Plesk as a mail server, I also open the mail ports and activate TLS. I include IMAPS/SMTPS in the client documentation and recommend modern ports (587/465) instead of port 25 for submission.
# Optional: Mail and DNS ports in UFW (only if required!)
sudo ufw allow 25,465,587/tcp # SMTP/SMTPS/Submission
sudo ufw allow 110,995/tcp # POP3/POP3S
sudo ufw allow 143,993/tcp # IMAP/IMAPS
sudo ufw allow 53/tcp
sudo ufw allow 53/udp
sudo ufw reload
Users, subscriptions and service plans
For order and scalability, I structure Plesk with Service plans and Subscriptions. I define limits (domains, storage, e-mail accounts, databases) and use them to create plans. Customers or projects each receive a subscription, including their own system user and FTP/SFTP access. I use hosting settings templates to automate the PHP version, web server mode and default directories. For agencies or resellers, I set roles and authorizations granularly so that only required areas are visible. In this way, I avoid uncontrolled growth and can reliably calculate resources.
Fine-tuning the web server stack
Plesk usually uses Nginx before Apache as a reverse proxy. Nginx-only can be useful for purely static pages or headless setups. I activate HTTP/2set compression (gzip or brotli, if available) and optimize keep-alive values. In domain-specific settings, I check caching headers, proxy buffers and web application firewall (WAF/ModSecurity). For many simultaneous connections, I increase worker connections and observe the effects in the monitoring. For CMS load, I switch on PHP-FPM per domain and set appropriate pm.max_children values based on RAM and average number of requests.
# Orientation for PHP-FPM (per domain, customize!)
pm = dynamic
pm.max_children = 8
pm.max_requests = 500
pm.max_spare_servers = 4
Databases and performance
I prefer MariaDB as a drop-in replacement for MySQL and activate the slow query log to find bottlenecks. For better performance, I adjust InnoDB parameters, test changes and measure with realistic load profiles. Larger instances benefit from a separate data disk and a remote DB to decouple the web and database. I plan backups incrementally and avoid full backups at peak times.
# Example my.cnf (approximate values, depending on RAM/workload)
innodb_buffer_pool_size = 1G
innodb_log_file_size = 256M
innodb_flush_method = O_DIRECT
tmp_table_size = 128M
max_heap_table_size = 128M
slow_query_log = 1
slow_query_log_file = /var/log/mysql/slow.log
long_query_time = 1
Network, IPv6 and host name
I award a FQDN as the host name, which points to the server IP via A/AAAA. I set reverse DNS (PTR) consistently so that the mail server and scanner classify the host as trustworthy. If the server has IPv6, I configure AAAA records and test with ping and web access. For near-geo latency and fast TLS handshakes, it is worth taking a look at the network situation (region, provider, peering). In cloud environments, I document security groups in addition to the UFW so that no rule is blocked twice.
Automation via CLI and tasks
In addition to the GUI, I use the Plesk CLI for scripts and recurring tasks. This allows me to document changes as code and reproduce setups. I version my scripts and test them on a staging instance first.
# One-time login link for the panel (practical after installation)
sudo plesk login

# Set/change admin password
sudo plesk bin admin --set-password -passwd 'SecurePassword!

# Create domain automatically (example)
sudo plesk bin domain --create example.tld -owner admin -ip 203.0.113.10 -ssl true

# Regular updates via cron (avoid outside maintenance windows)
sudo plesk installer update

# Repair tool in case of problems
sudo plesk repair all -y
I schedule cronjobs for backups, reports and health checks. For projects, I use hooks (e.g. after domain creation) to automatically deploy standard files, Git deploys or security profiles.
Migration and relocation
If I move from another server, I first lower the DNS-TTLso that the switchover is faster. I use the Plesk migrator to check the source and target environments, transfer domains, databases, emails and cron jobs. I schedule a maintenance window and test the target environment with a hosts file customization before I switch DNS. While the changeover is running, I freeze changes to the source system (code freeze) to avoid data inconsistencies. After the cut-over, I monitor logs and delivery rates and roll back selectively if necessary.

Maintenance, updates and rollback strategy
I activate unattended-upgrades for security updates and schedule Plesk component updates into the maintenance window. Before every major change, I take a snapshot or a full backup, including databases and mail. I test restore processes regularly and document them. To ensure smooth updates, I keep the system lean, remove old PHP versions and tidy up log files (log rotate, journal limits). I monitor critical services with notifications so that I can react in good time.
# Automate security updates (Ubuntu)
sudo apt install -y unattended-upgrades
sudo dpkg-reconfigure -plow unattended-upgrades

# Limit log size (Journald, example)
sudo sed -i 's/#SystemMaxUse=.*/SystemMaxUse=500M/' /etc/systemd/journald.conf
sudo systemctl restart systemd-journald
Enhanced safety and hardening
In addition to firewall, SSL and Fail2Ban, I secure SSH with key authentication and deactivate password logins. I set 2-factor authentication for Plesk accounts, enforce strong passwords and limit API access. I activate an up-to-date rule set in the WAF and monitor false alarms to define meaningful exceptions for each application. I consistently deactivate unused system services. I activate brute force protection for webmail and secure the standard URLs so that bots have less of an attack surface.
# SSH hardening (example)
sudo sed -i 's/^#\?PasswordAuthentication.*/PasswordAuthentication no/' /etc/ssh/sshd_config
sudo systemctl reload sshd
Pitfalls and troubleshooting
If the panel is not accessible, I first check the Firewall and call the IP with port 8443. If the browser shows certificate warnings, I set a valid Let's Encrypt certificate for the panel. I solve license errors by re-entering the license or temporarily activating the test license. In the case of package conflicts, a fresh system without other panels often helped me. If there is not enough memory, I move backups or extend the license. Volume.
In the event of persistent problems, I start the repair run and read specific logs. I analyze web errors via the domain logs in Plesk, panel problems in the sw-cp server log, mail errors in Postfix/Dovecot logs. I use ss/netstat to check ports and systemctl to check the status of services. If a restore fails, I test individual components (e.g. DB only) and increase the verbosity.
# Check ports and services
sudo ss -ltnp | grep -E ':80|:443|:8443|:25|:587'
sudo systemctl status sw-cp-server psa httpd apache2 nginx mariadb postfix dovecot

# Repair Plesk
sudo plesk repair installation -y
sudo plesk repair web -y
sudo plesk repair mail -y

# Panel logs (example paths)
sudo journalctl -u sw-cp-server -n 200 --no-pager
sudo tail -n 200 /var/log/plesk/panel.log
Briefly summarized
With these instructions I install Plesk on Ubuntu quickly, securely and reproducibly. I first check the requirements, update the system, open the ports and start the installer. Then I set up admin access, license and SSL, set up websites, e-mail and databases and activate security functions. For speed, I choose PHP 8.2, enable HTTP/2 and monitor the resources. This is how my Ubuntu-instance is stable, performant and maintainable - ready for real projects.