Skip to content
Fail2Ban Plesk brings effective protection against brute force attacks to your Plesk server environment with just a few clicks and automatically blocks suspicious IPs. I'll show you step by step how to install Fail2Ban, enable jails, customize rules and set up notifications so that your Server remains permanently clean.
Key points
The following key points will give you a compact overview before I go into detail and show you how to implement them in the panel. How to set the right Priorities right from the start.
- Installation via Tools & Settings and immediate activation
- Jails Use specifically for SSH, mail, Plesk panel and WordPress
- Parameters set ban times, detection windows and failed attempts sensibly
- Whitelist Maintain for trusted IPs and check blocks
- Monitoring of the logs for fine tuning and fewer false alarms
What Fail2Ban does - briefly explained
Fail2Ban analyzes Protocols of services such as SSH, mail, web server or the Plesk panel and recognizes recurring failed attempts. If an IP exceeds defined thresholds, I automatically block it for a set period of time. In this way, I reliably prevent brute force, dictionary attacks and automated scans with minimal effort. Expenditure. Plesk provides a clear interface in which I can switch jails on or off and adjust parameters. For productive servers, this protection is one of the fastest measures with a noticeable effect.
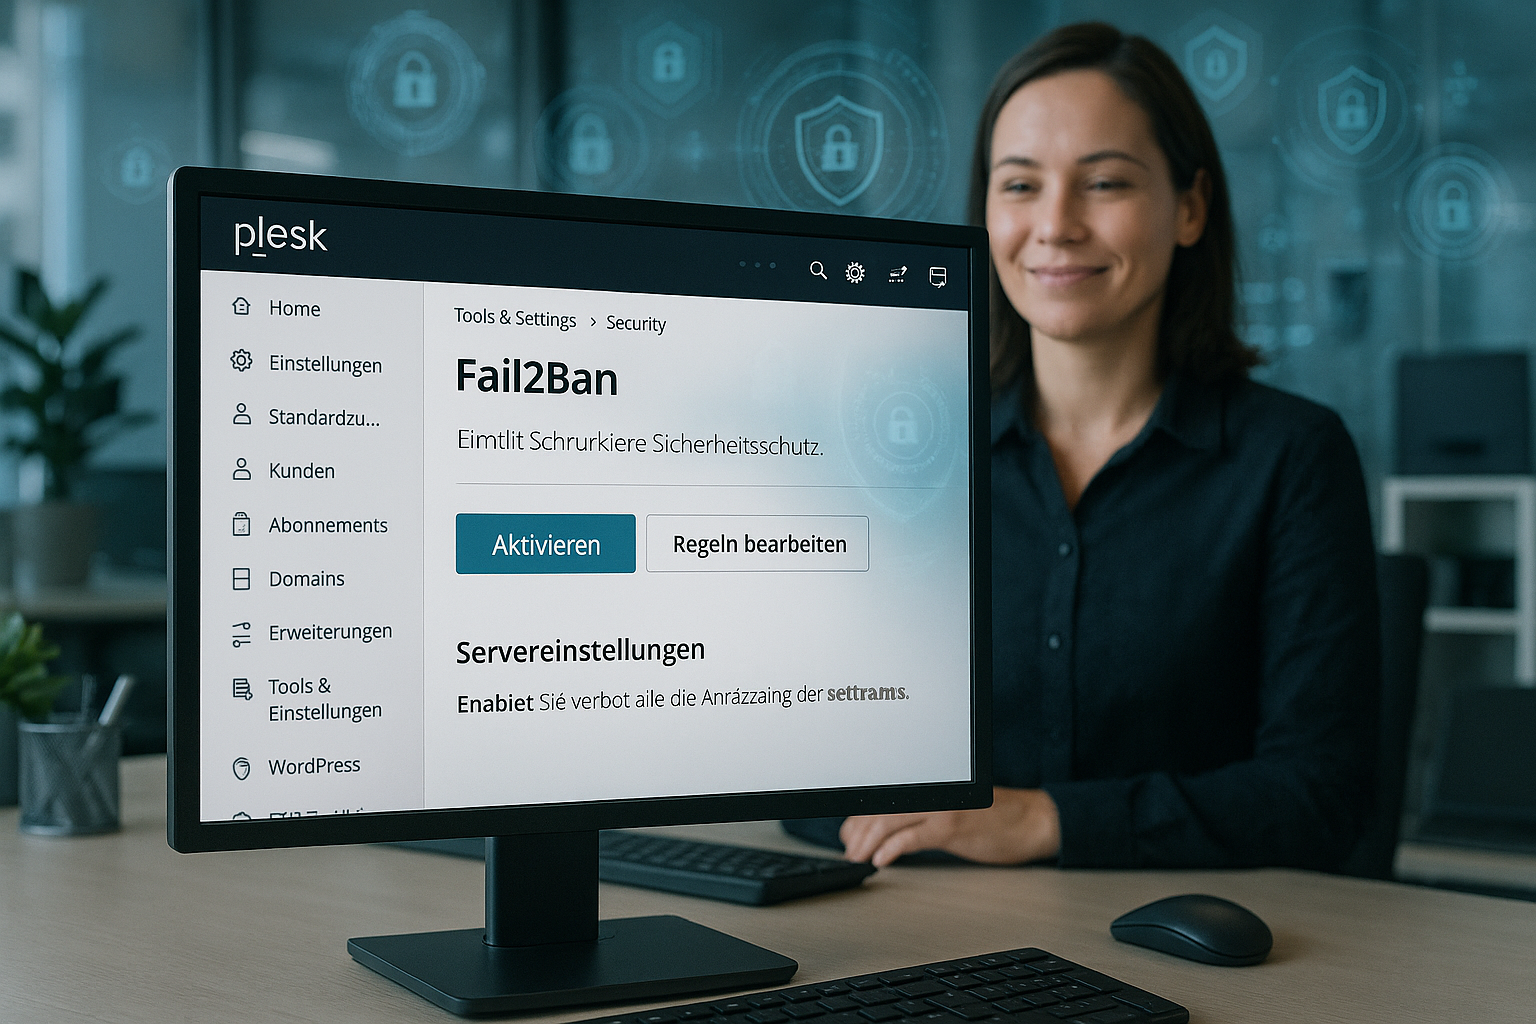
Installation in Plesk: Prerequisites and start
I use a current Plesk server on Linuxideally Obsidian, and first check whether the Fail2Ban component is already present. If it is missing, I open Tools & Settings in Plesk, go to Updates & Upgrades and select Add/Remove Components. There I activate the entry Fail2Ban and start the Installation. After completion, the section Block IP addresses (Fail2Ban) appears, in which I activate and monitor the function. For a complete setup, I combine Fail2Ban with a well-configured firewall; details can be found at Configure Plesk Firewall.
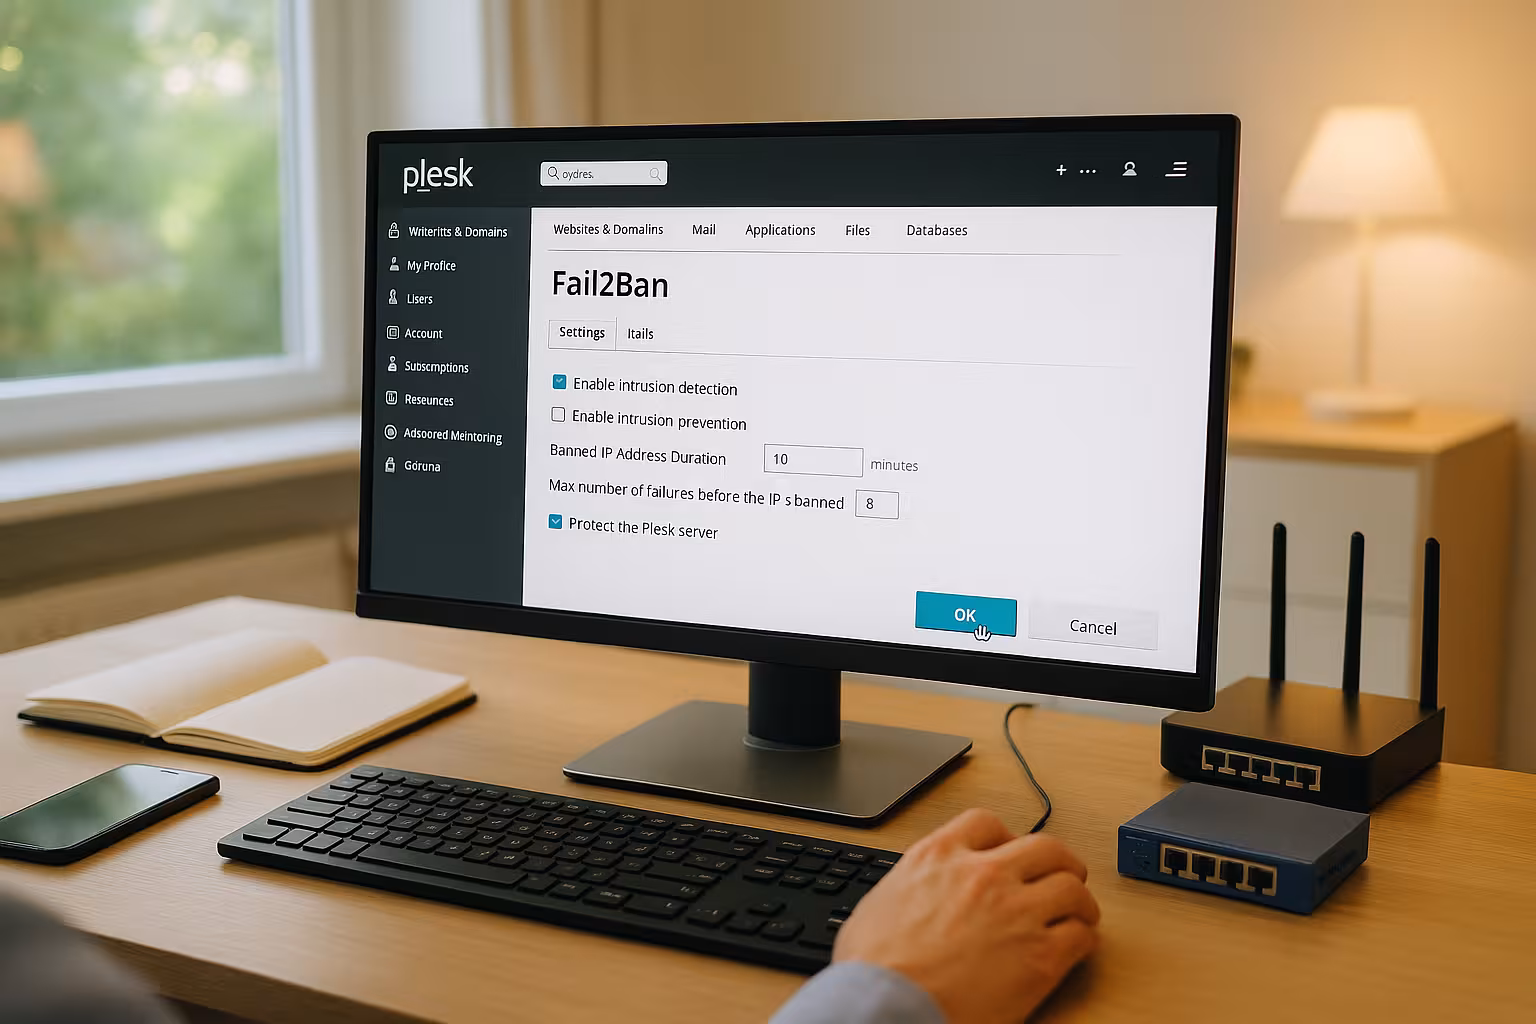
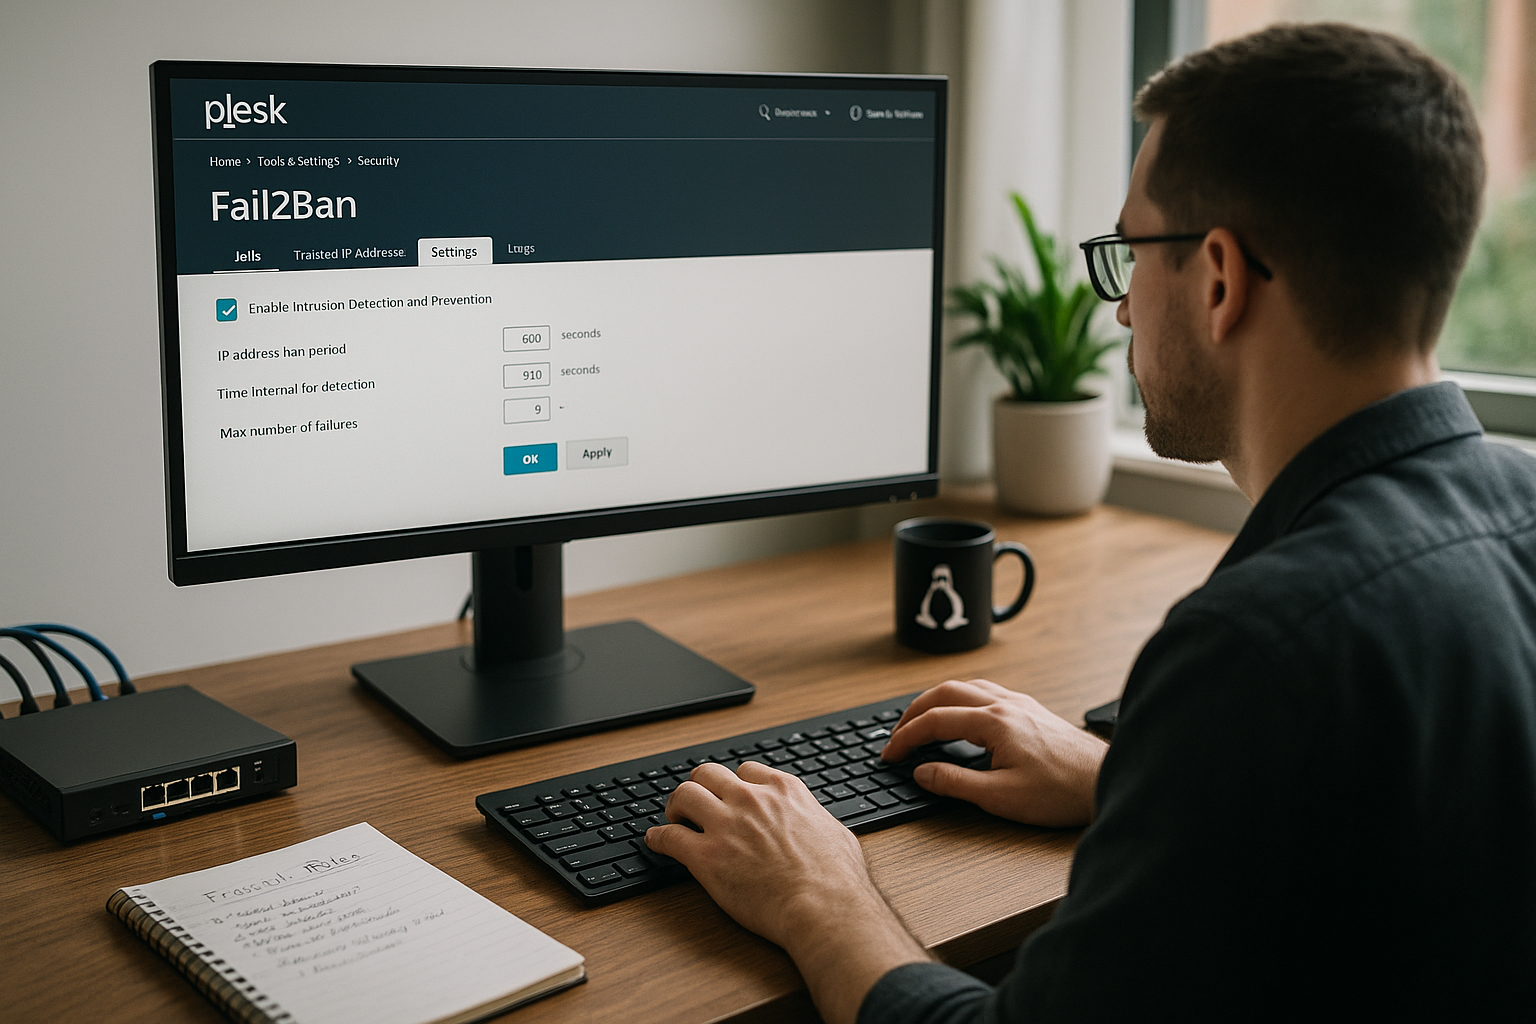
Basic configuration: select sensible default values
After switching on, I check global parameters that determine the effect and false alarms. With a balanced Ban time I keep attackers out without permanently locking out legitimate users. The detection window controls how long Fail2Ban collects failed attempts, and the maximum number of failed attempts sets the threshold for blocking. I also enter an e-mail address for notifications so that I can see critical events immediately. The following table shows common starting values that have proven themselves in many setups and can be refined at any time.
| Parameters | Recommendation | Effect |
|---|---|---|
| Ban time | 600-1800 seconds | Noticeably blocks attackers without permanently locking out users |
| Recognition window | 300-600 seconds | Aggregates tests in a reasonable period of time |
| Max. Failed attempts | 3-5 | Reduces false positives and still remains strict |
| Notification | Activate e-mail | Warnings for lockdowns and important events |
In addition, right at the beginning I define a Ignore list (whitelist) at a global level. Under Tools & Settings > Block IP addresses, I enter static office IP addresses, VPN endpoints or management networks. For IPv6, I use consistent prefixes (e.g. /64) with care and keep the list lean so that the protection is not undermined. For recurring troublemakers, a Incremental ban time proven: With parameters such as bantime.increment = true, bantime.factor and bantime.maxtime I automatically extend locks if they are repeated, thus ensuring a lasting effect.
Jails: targeted protection for services
In the Jails tab, I activate protection rules for the most important Services: sshd, dovecot, proftpd, plesk-apache, plesk-panel and plesk-wordpress. Each jail monitors matching log files, recognizes patterns and blocks conspicuous IPs. For servers with WordPress instances, I activate plesk-wordpress to block login attacks on wp-login and xmlrpc. If no FTP is running, I deactivate the associated jail so that the server does not perform any unnecessary checks. I then check whether blocks work reliably and adjust threshold values if there are too many false positives.
For orientation: sshd typically reads from /var/log/auth.log (Debian/Ubuntu) or /var/log/secure (RHEL/Alma/Rocky), mail logins end up in /var/log/maillog respectively /var/log/mail.log, the panel logs in /var/log/plesk/panel.log. For web attacks, the Plesk jails access virtual host logs under /var/www/vhosts/system//logs/ to. If you only run NGINX or an Apache+NGINX setup, the Plesk filters will continue to work as the appropriate paths are already stored.

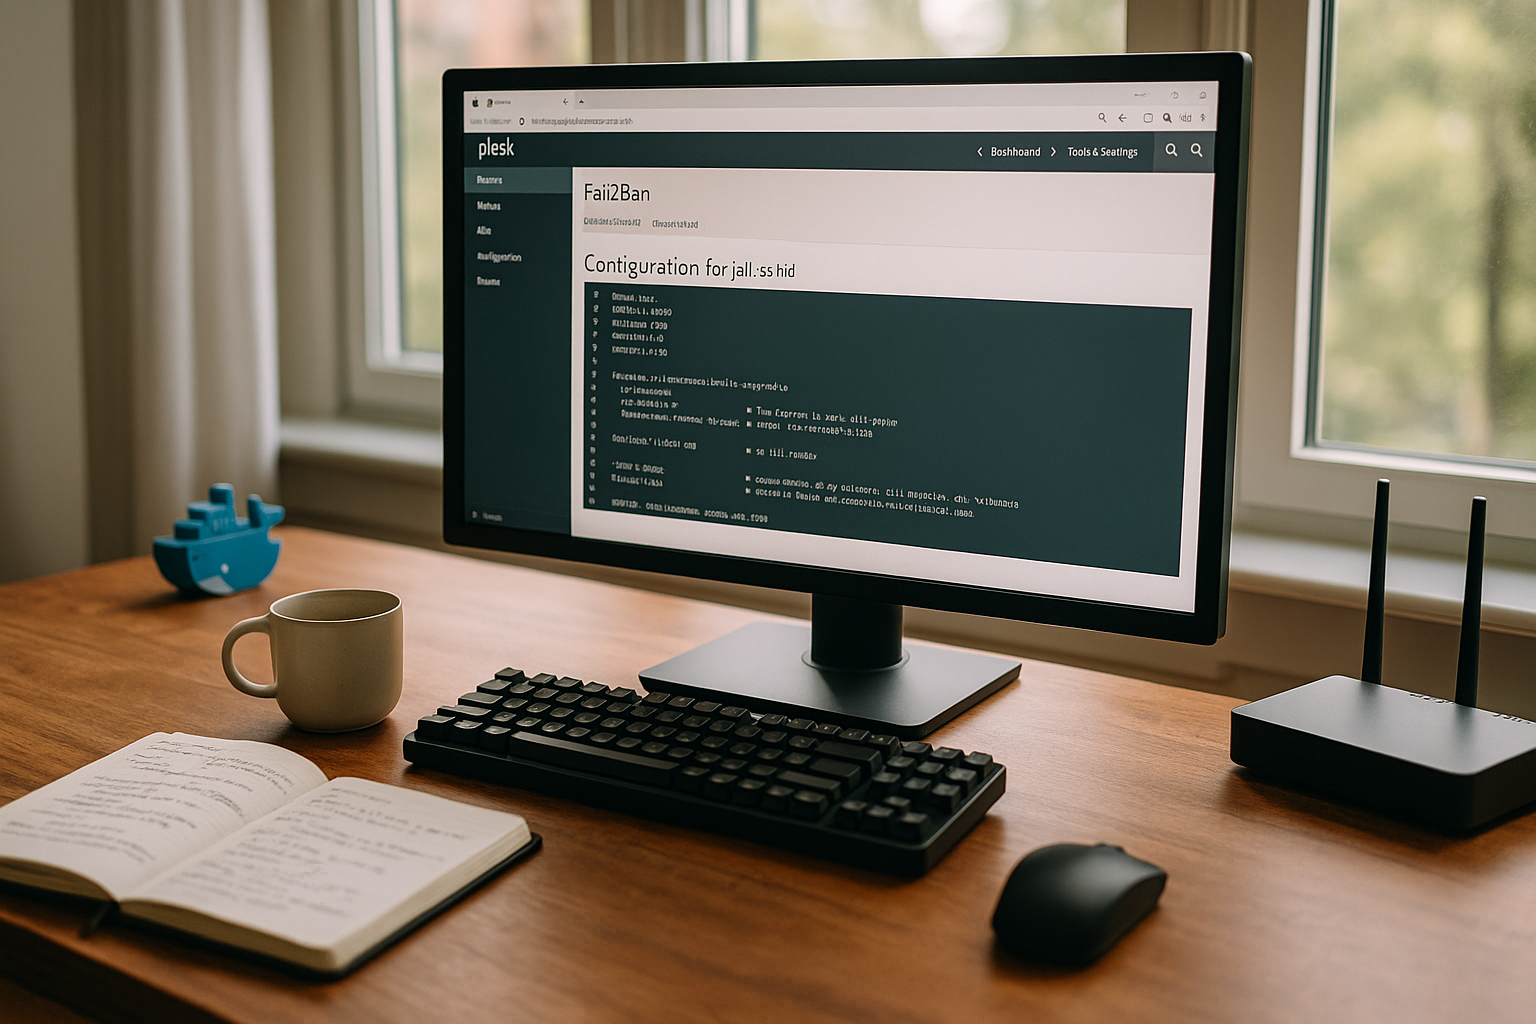
Create your own jails and filters cleanly
Do I need additional Protection for an application, I create a new jail and refer to the associated logs. I define a clear time window, set the failure limit and determine the desired ban time. For special applications, I write filters with regular expressions that recognize specific error messages. After activating the rule, I test it by simulating a failed attempt and then checking the logs. If I notice a pattern that attackers can bypass, I refine the filter and log the change for my Documentation.
To ensure that customizations remain update-safe, I create Own configurations in /etc/fail2ban/jail.d/ as separate files (e.g. custom-wordpress.local) instead of changing the standard files. This way, a Plesk or package update does not overwrite my rules. I test filter rules with fail2ban-regex against sample logs before I switch a jail to productive. After changes, a systemctl reload fail2banto make them active without a hard restart.
Whitelisting, unblocking and understanding blocked IPs
If I lock myself or a team member out, I open the list of blocked IP addresses and unblock the address again. For permanently trusted sources, I use the whitelist to prevent future bans. Blockages. In the overview, I can see which jail has blocked an IP and for which rule it was detected. This information helps me to identify misconfigured applications or bots. I keep the whitelist lean and only maintain entries if there is a good reason to do so. Reason there.
Do you work behind a Proxy/CDNI pay particular attention to the whitelist: If logins and web accesses are behind the IPs of the reverse proxy from the server's point of view, a carelessly configured jail will, in the worst case, block the proxy instead of the actual attacker. In this case, I make sure that the web server writes the "real" client IP correctly in the logs (X-Forwarded-For/Actual Real-IP mechanism) and maintain the proxy networks as trustworthy. This ensures that blocks remain accurate.
Avoid mistakes: sensible tuning from practice
I start with moderate Thresholds and only tighten the values once I know the typical load and usage profiles. For shared hosts with many users, the risk of false blocks increases, so I set MaxRetry higher and monitor the logs more closely. If bots reach your forms, it's worth taking a look at web server logs and additional rules in the plesk-apache jail. I set up 2FA for admin logins and thus relieve Fail2Ban because fewer login attempts arrive at the panel. A regular look at the block list shows me whether a single Source is particularly conspicuous and requires more measures.
Firewall combination and WordPress hardening
Fail2Ban blocks attackers after failed attempts, while the firewall reduces the attack surface in advance. Both together deliver noticeably more Securityespecially with exposed SSH or mail ports. For WordPress, I restrict xmlrpc, set a login rate limit at application level and let plesk-wordpress do the rest of the work. This gives you defense-in-depth instead of a single barrier. You can find a more in-depth comparison in this article: Fail2Ban and firewall in comparisonwho will help you coordinate the measures.
Practical check for Plesk admins
After setup, I check whether locks are applied within the expected time window and whether the email notifications arrive. I then test SSH with deliberately incorrect passwords and check the logs to verify the effectiveness of the Jails to confirm. For the Plesk panel, I simulate several failed logins and observe whether the IP is blocked promptly. If too many legitimate blocks appear, I increase MaxRetry step by step and extend the detection window moderately. This consistent approach keeps false positives to a minimum and ensures a quiet Operation.
Hosting integration: what I look out for
A strong hosting setup provides Fail2Ban, firewall, backups and monitoring in a coherent manner. I pay attention to direct Plesk integration, short response times in support and clear Documentation. providers with isolated service containers and consistent kernel updates provide me with additional security. For productive projects, I also rely on offsite backups so that I can get back online quickly in an emergency. This creates a level of security that makes attacks much more difficult and can be carried out with reasonable effort. Expenditure can be maintained.
Monitoring and troubleshooting: how to stay on top of things
I regularly evaluate the Fail2Ban overview, check blocked Addresses and recognize recurring sources. If I find patterns, I adjust the filter rules and document changes so that I can track them later. If the logs show heavy load peaks, I set additional limits in the web server and tighten the firewall. At the same time, I keep Plesk, system packages and plugins fresh in order to minimize attack surfaces; you can find tried-and-tested tips in this guide to Close security gaps in Plesk. This keeps your protection up to date and Fail2Ban needs less Work perform.
Protocol backends and paths in Plesk
For reliable detection, it is crucial that Fail2Ban has the correct Protocol sources reads. Under Linux, I use either file logs or the systemd backend, depending on the distribution. Modern setups benefit from backend = systemdas Fail2Ban reads the journal directly and generates less I/O on log files. Plesk already has sensible default settings for this. Nevertheless, I randomly check whether the log paths in the jails match reality: SSH in /var/log/auth.log (Debian/Ubuntu) or /var/log/secure (RHEL/Alma/Rocky), Mail in /var/log/maillog or /var/log/mail.logPlesk panel in /var/log/plesk/panel.logWeb in the vhost directories. If paths or journal names are not correct, I correct the entries in a separate .local-file. In this way, I avoid blind spots where attacks remain undetected.
IPv6, banaction and firewall backend
Many installations no longer only filter IPv4. I make sure that the Banactions are suitable for IPv6 (e.g. multiport variants for iptables/Firewalld). If the system uses Firewalld, I pay attention to actions such as firewallcmd-multiportfor classic iptables setups to iptables-multiport or ipset-based actions for better performance. It is important that the action used in Fail2Ban matches the active Plesk firewall - otherwise blocks end up in the wrong chain or do not take effect at all. After changes, I test specifically: simulated failed attempts from a test IP, status query of the jail, then a connection test. If IPv6 blocks work reliably, I have closed a significant gap that is often overlooked in mixed networks.
Escalating lockdowns and long-term blockages (recidivism)
With recurring attackers, I increase the pressure: with incremental ban times (bantime.increment) locks are automatically extended - approximately doubled by bantime.factor = 2 - up to a reasonable maximum (bantime.maxtime). In addition I use recidive-Jail which detects IPs that appear several times in different jails within a longer window. A configuration with findtime in the range of hours to days and a ban period of several days has proven to be effective. This level has a lasting effect against bots that return regularly without permanently excluding legitimate users. It remains important to identify trustworthy networks via ignoreip and to keep an eye on effects via the blacklist.
CLI workflow: check, reload, unlock
Even though Plesk offers a convenient interface, I solve many fast via console. With fail2ban-client status I see active jails, fail2ban-client status lists blocked IPs and meters. I load new rules with systemctl reload fail2banIf necessary, I restart the service. I delete individual IPs (fail2ban-client set unbanip) without affecting the entire system. For troubleshooting journalctl -u fail2banto read the latest events, including information on faulty filters. This allows me to keep operations lean, document interventions briefly and feed findings back into the rules.
Operation behind proxy/CDN, ModSecurity and WordPress details
Many websites today hang behind Reverse proxies or CDNs. To ensure that Fail2Ban evaluates the real client, I make sure that the web server notes the correct IP in the log and that the proxy networks are on the whitelist. Otherwise, I risk unintentionally blocking entire edge networks. In Plesk I also use ModSecurity (WAF): ModSecurity blocks known attack patterns at HTTP level, while Fail2Ban sanctions failed login attempts or repeated 4xx/5xx patterns. For WordPress, I take a two-pronged approach: restrict or secure xmlrpc, set login rate limits at application level and use the plesk-wordpress-jail active. This way I defuse noise in the log and let Fail2Ban target the hard cases.
Maintenance, backups and update strategy
To ensure that adjustments last in the long term, I keep all own rules in separate files under /etc/fail2ban/jail.d/ and document versioned changes. Before major plesk or system updates, I create a snapshot/backup and then randomly check whether jails are still active and paths are correct. I also take log rotates into account: after a rotation run (new log file), the backend should continue to read reliably - with systemd-Journal, this concern is largely eliminated. I establish short SOPs for teams: how IPs are unbanned, thresholds are adjusted and notifications are checked. This ensures that handling remains consistent, even when responsibilities change.
A legal sense of proportion: protocols and storage
Security also needs Dimension. I only store the information that is necessary for defense and diagnosis, set clear retention periods and delete old data regularly. Fail2Ban itself does not store any long-term data; the basis is your system and web logs. A reduced log level in regular operation (e.g. INFO) keeps the amount of data manageable, while I temporarily increase it to DEBUG for analyses and then switch back again. This is how I combine effective protection with a lean, traceable data trail.
In a nutshell: secure implementation in just a few clicks
I activate Fail2Ban via Plesk, set balanced parameters, activate suitable Jails and maintain a lean whitelist. With a complementary firewall, 2FA and clean updates, I achieve a high level of protection without ballast. My own filters give me control over special cases, while notifications and logs simplify my daily work. If you take these steps to heart, you will noticeably reduce brute force attempts and efficiently protect admin logins, mail and SSH. How to keep your Plesk server secure with Fail2Ban permanently resilient and easy to administer.