Skip to content
The changeover to Set up HTTPS not only protects sensitive user data, but also improves your Google ranking. In just a few steps, you can ensure an encrypted connection and increase trust in your website. For many, switching to HTTPS is a big step, especially when you consider the potential complications. However, with the right tools and hosting providers, the process is much easier today than it was a few years ago. However, there are still some details that you should be aware of to ensure a smooth implementation and to meet both technical and legal requirements.
Key points
- SSL certificate: Selection depending on website type and security requirements
- Automatic forwarding: via .htaccess file
- SEO ranking: Google prefers secure HTTPS connections
- Mixed content: avoid completely to prevent warnings
- Tools for testing: Use browsers and external scanners such as SSL Labs
The points mentioned here form the basis for successfully setting up HTTPS for any website. In addition to simply selecting a certificate, subsequent maintenance is also important. For example, I regularly check whether new content or external scripts might generate mixed content again. Updates to the content management system (CMS) or plugins should also be checked to ensure that all settings are retained. Anyone who frequently makes changes to the layout, scripts or images should get into the habit of briefly testing their website after major updates. Browsers such as Google Chrome offer simple instructions for this by immediately reporting errors or unsafe elements.

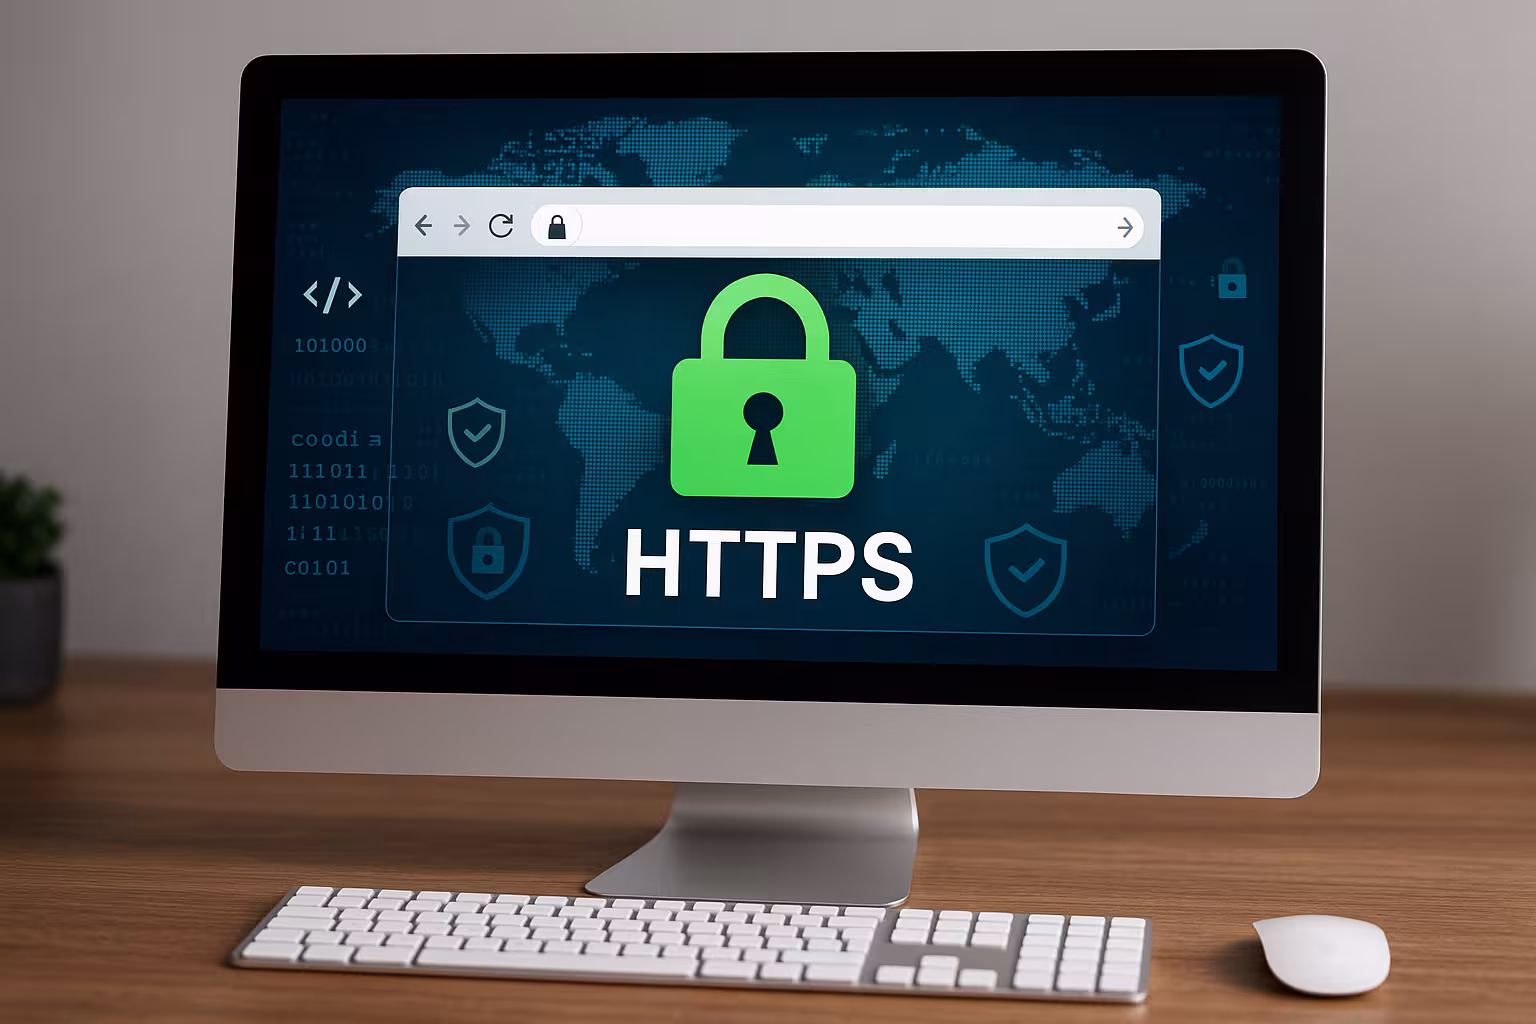
What is HTTPS and why do you need it?
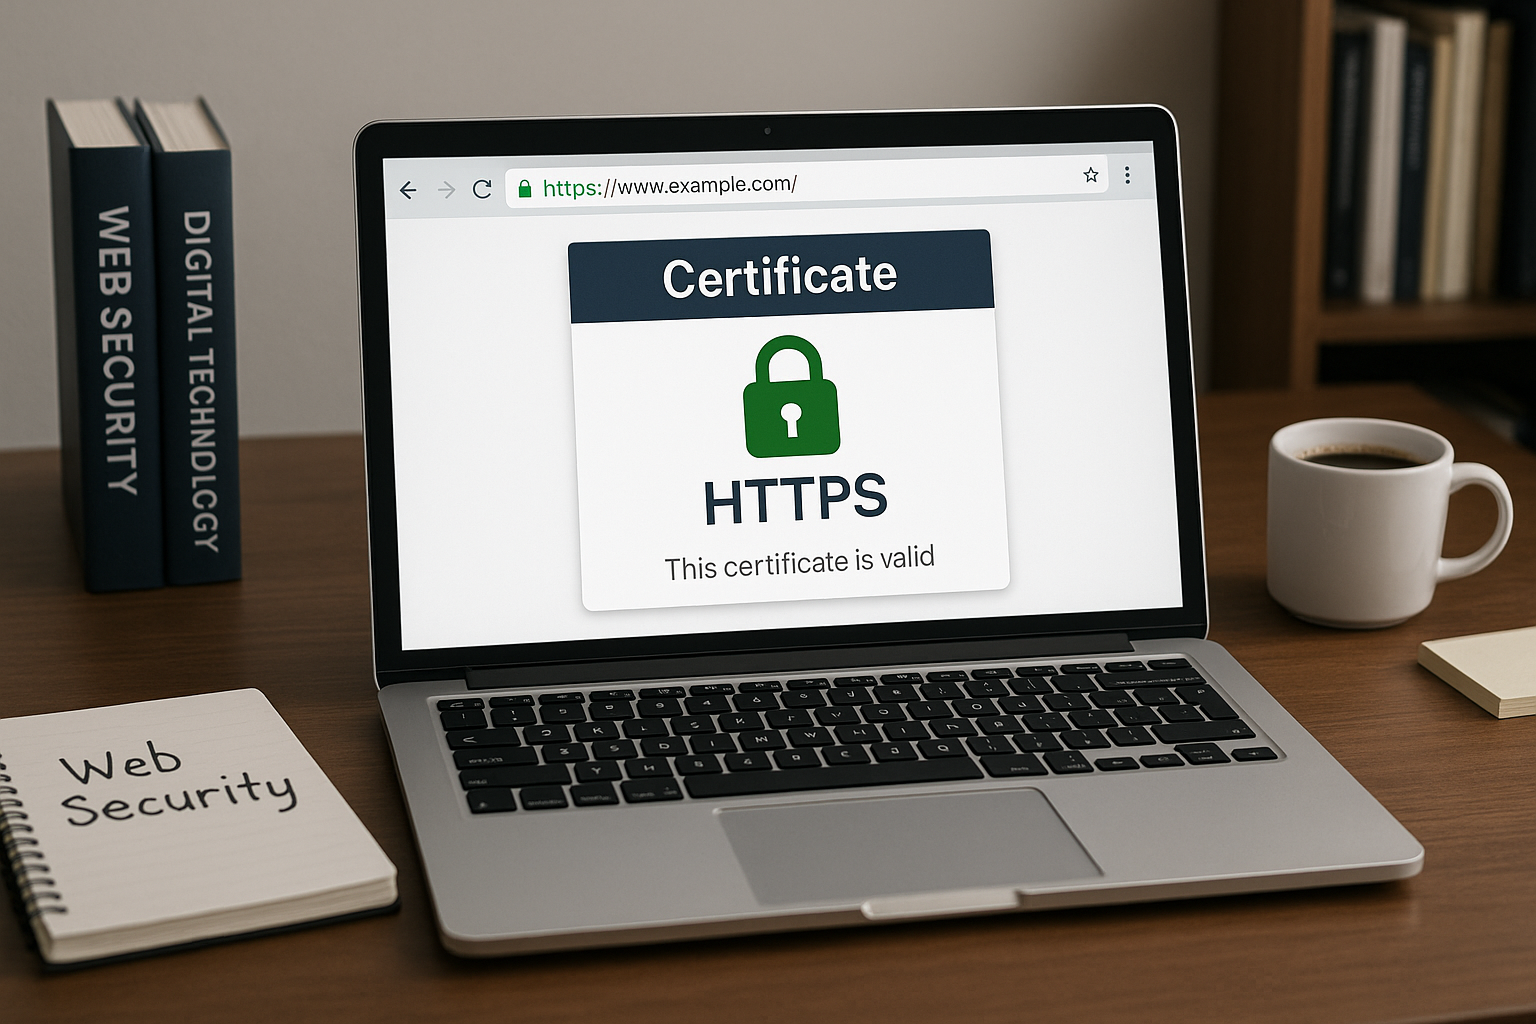
HTTPS - short for Hypertext Transfer Protocol Secure - encrypts communication between your web server and visitors using an SSL/TLS certificate. This protects sensitive user data such as passwords or payment information from unauthorized access. Security warnings in browsers deter users if your site does not use a valid certificate. The loading speed can also benefit from HTTPS. Last but not least, search engines such as Google increase the visibility of your website with a secure connection.
Encryption is particularly essential when confidential information is transmitted. This includes not only payment data and credit card details, but also personal information, passwords, contact forms and even inconspicuous cookies. Without HTTPS, attackers could intercept, manipulate or misuse this data for their own purposes. Modern browsers now mark HTTP pages as "not secure", which is visible to visitors and can certainly be a deterrent. HTTPS is therefore no longer a luxury, but a mandatory requirement to ensure a reputable website.
In addition, stricter guidelines and laws are being established that enforce the protection of data: In Europe, this includes the GDPR. A missing HTTPS certificate could even lead to data protection problems in certain cases if personal data is transmitted unencrypted. This means that a secure connection is not just a technical aspect, but can also have legal relevance. I therefore recommend implementing HTTPS at an early stage - preferably at the launch of the website to avoid unnecessary changes and possible SEO losses.
Select the right SSL certificate
Depending on the type of website you have, you will need a certificate with different levels of security. There are three common types:
| Type | Validation | Suitable for | Costs |
|---|---|---|---|
| DP (Domain Validation) | Checking the domain | Private websites, blogs | Free of charge (e.g. Let's Encrypt) |
| OV (Organization Validation) | Domain and company verification | Company pages | Approx. 40-150 € per year |
| EV (Extended Validation) | Thorough company audit | Stores and banks | From approx. 150 € per year |
If you want to encrypt your site cost-effectively, we recommend a free DV certificate from Let's Encrypt. For websites with customer logins or payment processing, however, you should rely on an OV or even EV certificate. In principle, DV certificates are perfectly adequate for smaller, private projects. However, as soon as trust plays a larger role, such as with e-commerce or company websites, an OV or EV certificate is recommended. These offer more extensive checks and signal even more seriousness to visitors.
Wildcard certificates are also available for operators with several subdomains. A wildcard certificate encrypts the main domain and any number of subdomains. This is particularly practical if, for example blog.mywebsite.com or store.mywebsite.com under the same domain. This means you do not have to purchase or install a separate certificate for each subdomain. This can be purchased as a DV, OV or EV certificate, whereby the respective validation requirements should not be underestimated. The decision for a specific certificate should be made primarily on the basis of your own requirements for security, data protection and user trust.
Activate SSL certificate with hosting provider
After selecting the certificate, activation is crucial. I log into my hosting account and select the appropriate certificate there. Many providers do everything automatically in just a few minutes. With webhoster.de For example, the process is completed in just a few clicks. Very important: Activate the automatic renewal of your SSL certificate. This will help you avoid unexpected security gaps or failures.
However, sometimes a manual step is necessary to store the certificate correctly. My hosting provider often provides me with a simple interface where I can enter the certificate, the private key and any intermediate certificates. If you use Let's Encrypt instead, in most cases you just have to press a button, after which the integration happens automatically. Nevertheless, it is advisable to make a note of the validity period and to check regularly whether the renewal works smoothly.
Individual hosting panels sometimes have special features, such as the activation of SNI (Server Name Indication), so that several certificates can be used on one IP. However, modern hosting providers cover these functions as standard. If you administer your own server, you should familiarize yourself with the configuration of the web server (Apache, nginx, etc.) and ensure that both the certificate itself and the SSL/TLS versions are up-to-date and secure. It is worth taking a look at the recommended cipher suites and protocols to ensure that your HTTPS connection is not only available, but also up-to-date and secure.

Activate HTTPS in WordPress
If you use WordPress for your website, only a few steps are necessary for the conversion. I start by installing the SSL certificate on the host. Then I change the Settings > Generally the website URLs on "https://". Internal links and media paths also need to be updated. I can automate the adjustments using the "Really Simple SSL" plugin. It is important to check mixed content: All images, scripts and fonts should be integrated via HTTPS. This is the only way to fully secure the connection.
WordPress website operators often overlook the fact that themes or plugins contain their own script calls that can still run via HTTP. It is therefore worth quickly going through all installed themes and plugins. By using a plugin such as "Better Search Replace" to specifically http:// through https:// in the database, I can eliminate common sources of error. A regular backup before making changes to the database is mandatory. If you want to be on the safe side, you can also use a staging system to try out the changes in a test environment first. This allows potential conflicts to be identified at an early stage.
WordPress is generally very HTTPS-friendly. Once set up correctly, the system remains reliably on the secure connection. However, even after switching to SSL, you should pay attention to other aspects of security. These include strong passwords, reliable plugins, regular updates and - if necessary - additional security plugins. Because even an encrypted site needs protection against brute force attacks or malware infections, which have nothing to do with the type of data transfer in the first place. Nevertheless, HTTPS is one of the fundamental security principles and should be integrated into every WordPress project.
Automatic forwarding via .htaccess
You should redirect every request to HTTP to HTTPS. To do this, I open the .htaccess-file in the root directory of my server. With the following code, the redirection works efficiently on Apache servers:
RewriteEngine On
RewriteCond %{HTTPS} !=on
RewriteRule ^(.*)$ https://%{HTTP_HOST}%{REQUEST_URI} [L,R=301]
This rule permanently redirects all HTTP calls and protects your SEO ranking from the negative impact of duplicate content. After setting it up, I call up my website on a test basis at http:// - it must be automatically redirected to https://.
If you are using nginx instead of Apache, you must define the forwarding in the configuration file of your server. An example of this could be:
server {
    listen 80;
    server_name mywebsite.com;
    return 301 https://meinewebsite.de$request_uri;
}
In addition to pure redirection, you should also remember to always set the HSTS header (HTTP Strict Transport Security). This tells the browser that it should only accept encrypted connections for your domain. This reduces the risk of "downgrade" attacks, where an attacker tries to switch the connection back to HTTP. HSTS is usually activated in the web server or via a header plugin and can be configured so that it applies without restriction for a certain period of time - several months, for example.

Test HTTPS and check live connection
Before I publish my website as secure, I thoroughly check the implementation: Does the browser show a lock in the address bar? Is the HTTP version automatically redirected to HTTPS? Are all embedded resources corrected? I use tools such as SSL Labs or the developer mode of my browser for the final check. A complete website backup should also be part of the process. This backup protects me against unforeseen errors in updates or settings.
If you want to be particularly thorough, check the page not only with one browser, but also with several different browsers (Chrome, Firefox, Safari, Edge, etc.) and, if necessary, on different devices. Occasionally, different problems occur on mobile platforms than on the desktop. External testing tools also provide detailed information on whether outdated protocols (TLS 1.0 or 1.1) are still activated, for example. TLS 1.2 or 1.3 is generally recommended for an optimum level of security. It also makes sense to pay attention to information messages about so-called "intermediate certificates" or chain problems, as missing intermediate certificates can lead to warnings.
After passing the test, I will officially launch my website. I recommend observing user behavior during the first few days and checking the logs for errors. Sometimes administrators forget to redirect subdomains as well or develop unplanned URL conflicts. A thorough log analysis or monitoring tools help to uncover such inconsistencies. Only when all the cogs mesh and both users and Google see flawless HTTPS calls can you tick the box for the changeover.
HTTPS and SEO - what you need to consider
An HTTPS connection has advantages for your Search engine placement. Google prefers secure pages in the ranking. I therefore set up permanent (301) redirects after the changeover to preserve existing link juice. I should also resubmit the sitemap in the Google Search Console. I can also activate HSTS. This means that the browser automatically forces the HTTPS variant the next time it is loaded. Useful information can be found in this Background article on HTTPS.
Important to know: If you switch from HTTP to HTTPS, Google no longer treats this as a completely new domain, but recognizes that it is the same page thanks to the 301 redirect. Nevertheless, your ranking may fluctuate in the short term. However, this usually stabilizes quickly and you will then benefit from the bonus that Google grants to secure pages. I always make sure that all canonical tags, internal links and structured data refer to the HTTPS version. If you use tools such as Google Analytics or Tag Manager, you should also adjust the target URLs there to HTTPS in order to obtain consistent data.
A further step to strengthen the trust of search engines and users is to provide a secure server environment. This includes regular security updates, closing gaps in CMS and plugins as well as the use of firewalls or security plugins. Google can detect certain security problems and warns users about insecure sites or sites with malware. With a good security strategy, you can ensure that your SEO reputation is maintained and your website is listed positively in the long term. And all of this ultimately starts with the move to HTTPS.
Typical mistakes - and how to avoid them
When switching to HTTPS, classic problems sometimes occur. I particularly often see Mixed content-messages. These occur when CSS files or images continue to be loaded via HTTP. I open the developer tools with F12 and find all insecure elements. An invalid certificate also leads to warnings: For subdomains in particular, I therefore check whether the certificate is set correctly. In the event of caching problems, I clear all caches via plugin or hosting panel - otherwise old, insecure path specifications will continue to apply.
Another obstacle is often external resources that are integrated via http://. Anyone using external scripts for fonts, analysis tools or advertisements must ensure that they also offer an HTTPS version. Otherwise, the connection remains only partially encrypted, which leads to warnings. In practice, this means checking and adapting the integration codes of all third-party providers. For some service providers, all you need to do is change the protocol (simply use https:// instead of http://). If certain providers do not offer HTTPS at all, it is worth choosing a service that supports secure connections.
The use of CDN (Content Delivery Network) is also sometimes underestimated. Many CDN services support HTTPS, but require their own certificate configuration or a special "Shared SSL" service. Therefore, check whether your CDN is correctly integrated and whether you may need to use your own CNAME entries in the DNS. The security-critical point with CDNs is that in addition to your main domain, the CDN subdomain also requires a certificate to avoid triggering a mixed content warning. If you take these subtleties into account, you can easily benefit from the performance advantages of a CDN without having to compromise on security.
Create HTTPS in Plesk or cPanel
If you use a hosting control panel, such as Plesk, the HTTPS conversion is often particularly easy. In just a few steps, you can set up a Create Let's Encrypt certificate in the Plesk panel. To do this, I select my domain, click on "SSL/TLS certificates" and follow the instructions for auto-installation. Almost all large panels allow automated renewal of the certificate, which provides long-term security.
cPanel is also known for its user-friendly administration. Here I can also activate a Let's Encrypt certificate with a click of the mouse. Alternatively, I can integrate a commercial certificate via cPanel by uploading the certificate and the private key. A stumbling block can occur if you have to manage additional certificates for several add-on domains. You should be careful to assign the appropriate certificate to each domain name. Overlaps can lead to error messages. Although modern cPanel versions enable automatic SSL activation for all domains, a quick check of each domain is still worthwhile to avoid errors.
Basically, no matter which panel you use, it's worth taking a look at the documentation or the hoster's help sections. There are often step-by-step instructions that make the process really straightforward. If problems do arise, most hosting providers have support teams available to help with integration or error analysis. This support is worth its weight in gold, especially for newcomers, as HTTPS and SSL topics can quickly become confusing when you are dealing with them for the first time.
Comparison of popular hosting providers for HTTPS
If you want to use SSL certificates conveniently, the choice of your hosting provider is crucial. I have compared the best-known providers:
| Place | Provider | Advantages |
|---|---|---|
| 1 | webhoster.de | Simple SSL management, automatic renewal, top performance |
| 2 | Provider B | Good price, SSL options for beginners |
| 3 | Provider C | Wildcard certificates included |
With webhoster.de you are technically well equipped and don't need any cloud flat rates, additional costs or extra software. Security starts with hosting. All of these providers have their own focus: While webhoster.de is particularly characterized by automated SSL management and performance, provider B may convince with a low-cost entry-level tariff. If you want to use wildcard certificates on a large scale, provider C offers attractive complete packages. It is advisable to look not only at the price and the choice of certificates, but also at other features such as support availability, server location or backups.
Conclusion: HTTPS is more than just encryption
You not only create Trustbut are also technically on the safe side. An SSL certificate protects sensitive data, eliminates warnings and even has an impact on SEO. Tools, automatic redirects and plugins make the transition easier for you. I take the time for a thorough test run before my website officially goes live with HTTPS. For professional hosting with easy SSL management, I recommend using a certified provider.

A smooth switch to HTTPS is a real competitive advantage: visitors perceive your site as trustworthy and Google rewards you with a better ranking. You also benefit from greater data security and avoid legal pitfalls when handling user data. If difficulties arise, it is often just a minor issue such as a forgotten image or script that is still integrated via HTTP. A final inspection in the browser and an analysis with SSL check tools provide clarity. If everything is green, you can look forward to a professional and secure website that both your users and the search engines will appreciate.