Skip to content
With a WordPress Staging-environment, you can safely test new functions or updates before they affect your live website. This minimizes downtime and prevents errors - a must for any professional WordPress site.
Key points
- Safe testsChanges do not affect your live page
- Fast rollout: Quickly adopt functioning features
- Improved quality: Recognize sources of error at an early stage
- Simple setupPlugin or hoster solutions possible
- More performanceTests do not load the main page
Why WordPress staging is essential for your website
A staging environment protects your website from unexpected outages and display errors. You can add new Plugins or themes without risk - just like major updates to the system or layout. Many people work directly on the live system, which can lead to faulty updates and disrupted user experiences. A staging site saves you this. Staging is indispensable, especially for websites with many visitors, such as online stores or portals.
I also use my staging page for individual adjustments without customers or visitors noticing anything. This means that content and navigation remain accessible at all times, even when work is being done internally on the setup. This advantage is often underestimated, because in practice teams often work on new functions in parallel while existing page content is continuously updated. The staging environment therefore serves as a protected space in which you can let off steam creatively without risking a loss of reputation.
There is also the aspect of data security: if you are working on your live system and a serious error occurs, this can not only impair functionality, but can even mean data loss. A well thought-out staging setup prevents this, as you separate all changes cleanly and ideally combine them with regular backups.
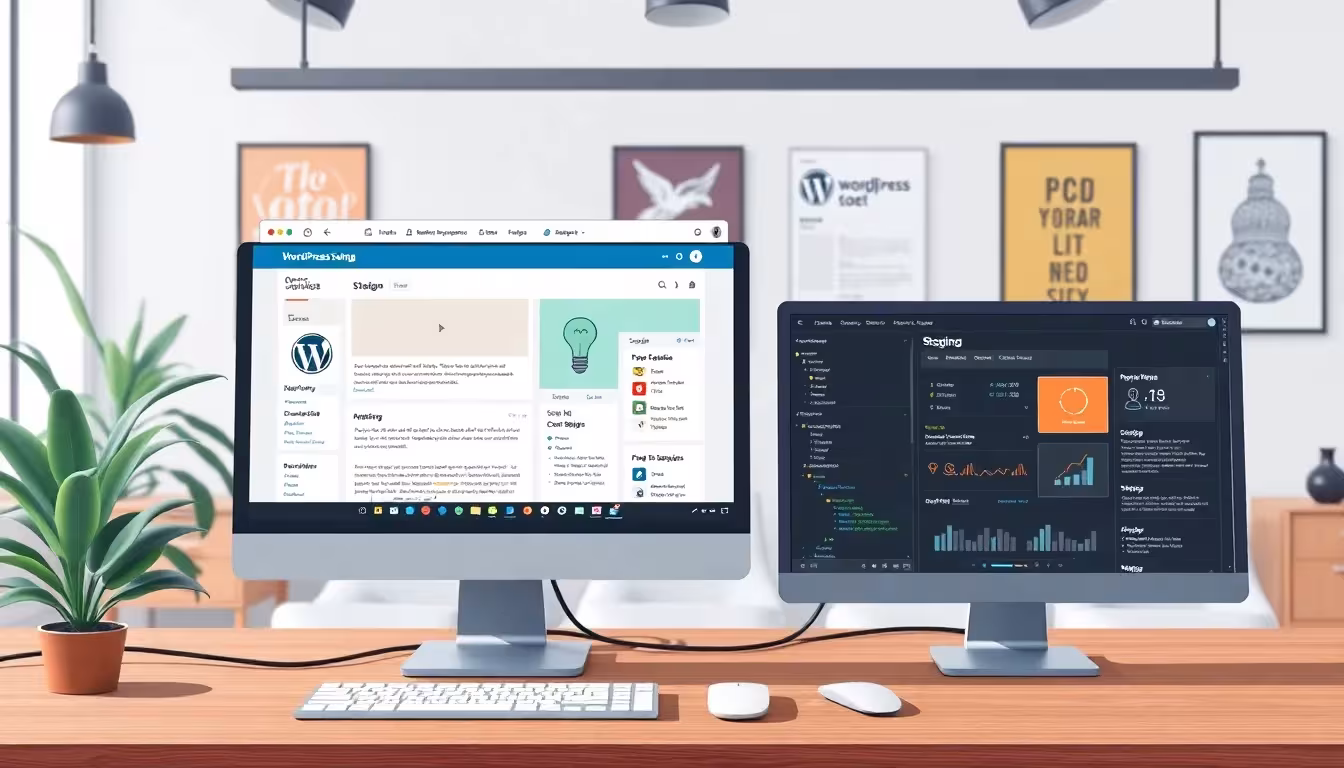
How to set up staging correctly - 3 methods at a glance
You can set up your WordPress staging environment in different ways. Which method you choose depends on your technical knowledge and the time available. Each method has its pros and cons, and your ideal setup may differ depending on project size and priorities.
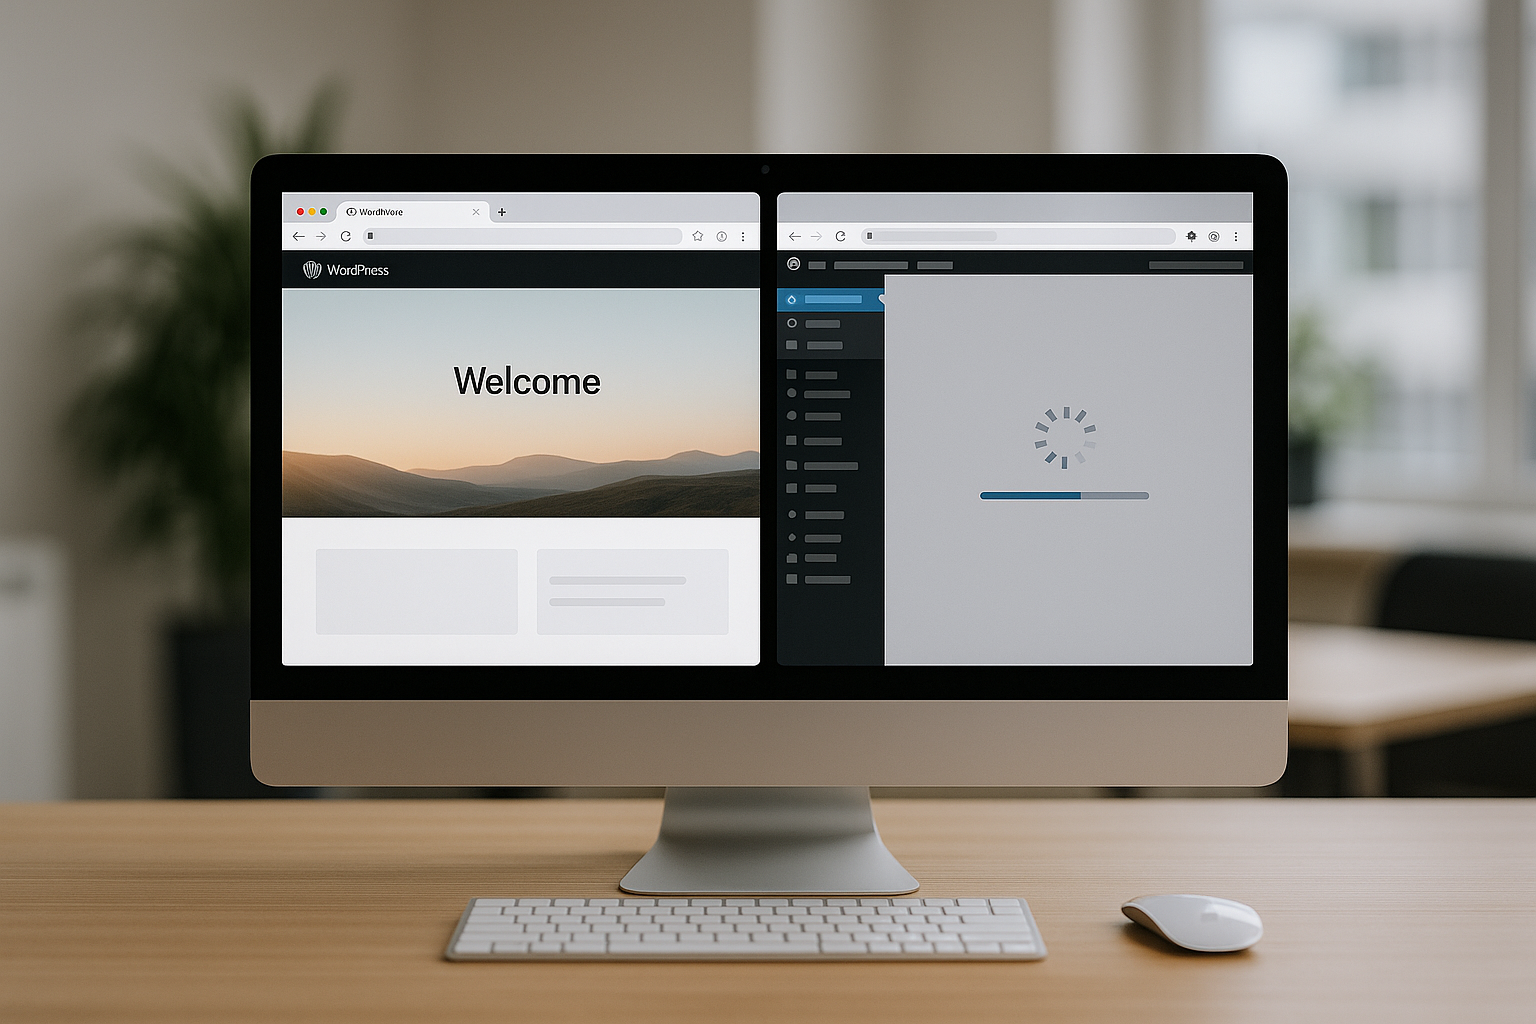
1. with the WP Staging plugin
If you want to get started easily, the Plugin WP Staging is a good choice. After installation from the plugin directory, you can create an exact copy of your current website with just one click. The staging page runs under a separate URL such as /staging. The free version is sufficient for many applications - if you want to automatically transfer the changes to the production site later, you need the Pro version.
Many beginners are pleased that this plugin solution requires hardly any manual work. At the same time, you learn important concepts of the WordPress structure, such as how database tables are copied or domain paths are adjusted. This gives you a better understanding of what actually happens in the background of your website. This technical understanding is essential for the long-term success of your project.
2. staging directly via your hosting provider
Some web hosters like webhoster.de offer you an integrated solution with just a few clicks. Without additional plugins, you can create a clean copy of your website and test changes there immediately. The biggest advantage: backup, synchronization and security are handled by the hosting provider. This makes this method particularly reliable. In addition, you often benefit from customer-specific support that knows your individual server environment. If you have any technical queries, you can get competent help quickly - a decisive factor if you are working to a tight deadline or need reliable results for a sensitive project.
Another plus point is that hosting solutions are often thoroughly tested. If your provider is specifically tailored to WordPress, you can expect maximum convenience during setup. This means significantly less wasted time and a smoother migration of new functions. For ambitious web projects or store systems that rely on professional infrastructure, this is almost perfect.
3. manually via cPanel or Plesk
Experienced users set up their own staging version directly via cPanel or Plesk . To do this, create a new directory, copy the files and database, adjust the wp-config.php file and the database URLs. This method offers maximum control, but is more time-consuming - and error-prone if you are not familiar with database migrations.
At the same time, this variant has an unbeatable advantage for developers who would like to delve deeper into the subject matter: You learn all the relevant steps of a WordPress installation, understand how database tables are connected and can adjust additional fine-tuning settings directly. This makes you less dependent on external tools and significantly increases your problem-solving skills.
Typical WordPress staging mistakes - and how to avoid them
A common error: If internal links and media paths have not been adapted correctly, the staging page still refers to live content. This causes faulty images or duplicate database calls - and reduces the benefits of the test environment.
That's why I always check the site_url and home-entries in the database. Tools such as Better Search Replace or WP-CLI are useful. A second common mistake: The staging site can be found publicly. You can solve this with simple password protection or the "Block search engines" function in the WordPress settings.
Also avoid carrying out plugin updates in staging at the same time as extensive database changes if you are not sure what the effects will be. It is better to carry out such large steps in several small stages. This will make it easier for you to recognize where a problem occurs. Also, be careful when using text editors or code editors to change CSS or PHP files. Any carelessness can paralyze your staging site, which could then affect the planned live update.
How to synchronize staging and live site correctly
Avoid manually transferring changes from the staging environment to the live site. This is error-prone and time-consuming. Instead, use plugin-supported push-back functions such as those offered by WP Staging Pro. Many professional hosting providers also offer a synchronization wizard for this purpose.
I recommend creating a full backup of your live site before pushing. Changes in WordPress are often quickly visible - otherwise there is no way back if an error occurs. Pay particular attention to time windows in which your store or website is less frequented to minimize possible losses in user experience. Ideally, you should inform your team or stakeholders before you start a major push. This way, every affected area can react early if unexpected difficulties arise.
If you are running complex projects with custom post types, multilingual architecture or numerous external interfaces, structured synchronization is particularly important. Document exactly what you change, keep an eye on versioning tools and check that all relevant functions run smoothly on your live site after the transfer. Small, incremental updates are easier to track and, if necessary, undo than large-scale changes.
Making sensible use of staging: Tips from the field
A staging site is more than just a technology playground. I use it regularly to:
- Check WP Core updates before I make them live
- Test a redesign without disrupting the user experience
- Obtain developer feedback for specific functions
- Test critical interfaces such as payment modules under real conditions
Use as much as possible Identical server settingsso that the tests remain meaningful. This includes PHP version, memory limits and active security modules. The wrong environment leads to the wrong conclusions. By integrating monitoring tools that monitor both performance and error messages, you can also determine which processes in your staging environment are consuming how many resources. If everything runs smoothly, you can transfer the changes to the live site with a good feeling.
Another practical recommendation: consider using a version control system such as Git. Especially in development projects where many people are involved in making code changes, Git not only facilitates collaboration, but also the documentation of changes. You can systematically track when which commit was made and, if necessary, specifically identify the last incorrect step.
Keeping an eye on the performance and security of the staging environment
Staging websites also need protection. Set up password access to prevent unauthorized access. I also use a security plugin that prevents brute force login attempts. In addition, the Staging database should be backed up regularly - preferably automatically. Tools such as UpdraftPlus or your hoster's backup function are suitable for this.
In terms of performance, it is worth testing the staging environment under conditions that are as realistic as possible. This applies not only to the use of identical server parameters, but also to testing your caching system. Some website operators deactivate all caches in their test environment, which makes troubleshooting easier but provides a distorted picture of the real speed. It is often only in conjunction with active caches that it becomes apparent whether certain plugins or scripts are causing conflicts.
The same applies to security plug-ins: you should check in the test environment whether your configurations are working correctly. Sometimes incorrectly configured security rules block important functions or generate an unnecessary number of false alarms. Therefore, test at an early stage how your security setup reacts under different circumstances.
Optimize staging for better loading times & SEO
An often overlooked point: loading times also play a role in the test environment. You should check how fast your staging system runs with the cache activated. Content that loads a lot of external scripts leads to delays. If you already optimize here, you will save time during the go-live.
In the staging environment No indexing by search engines. Set the meta tag "noindex" or activate the internal WordPress option under "Settings > Read". This will help you avoid duplicate content problems.
It is also advisable to test tools such as GTmetrix, PageSpeed Insights or Pingdom in the staging environment. This allows you to identify bottlenecks (e.g. uncompressed images, excessive use of JS libraries) during the test phase. Especially with extensive image galleries or slider plugins, a few megabytes more or less can make a big difference to the loading time. If you optimize early on, you can later rely on high-performance pages when going live.

Direct comparison of set-up options
Depending on your technical experience, you can choose between different types of set-up. The following table gives you an overview of effort, technology and control:
| Method | Technical knowledge | Automation | Control | Recommendation for |
|---|---|---|---|---|
| Plugin (WP Staging) | Low | High | Medium | Beginner |
| Web host (e.g. webhoster.de) | Low | High | High | Professional pages |
| Manually via cPanel | High | Low | Very high | Developer |
In this comparison, you can quickly see that the effort required depends heavily on your own skills and tools. If you are fit in the developer environment and want full freedom over the server, you are more likely to choose the third method. On the other hand, if you prefer to port your project to a staging environment with minimal risk and time expenditure, the first two options are a good choice.
Additional tools and steps for safeguarding
Before I suggest changes to live systems, I comprehensively protect the WordPress staging environment. For example, I install a security plugin such as iThemes Security in the trial version. Additional safeguards increase the validity - such as SSL certificates or restrictive hosting permissions. For Plesk installations, there are simple ways to secure WordPress - as described in the article Install Plesk WordPress described.
Create regular backup points in your test environment - not just on the live site. Things can also go wrong with automated pushbacks. Tools such as Duplicator or BackupBuddy can help you with this. Make sure to store the backups you create in an external location, for example in a cloud or on a separate server. Because if both your live site and the staging environment are compromised, you will still have clean backups available.
Also think about logging: Logs can provide important information about attempted attacks, slow-loading scripts or missing access rights. Many hosters offer an overview of error logs or make it possible to read such logs directly from cPanel or Plesk. In combination with appropriate debugging in WordPress, this gives you a clear picture of where your installation may be "stuck".
Especially with frequent staging updates, it is also worth planning fixed maintenance windows. For example, you can create a backup first, then check a change in the staging environment and finally document the successful push. Such a routine creates security and stability both for the team and for your users who continuously access your website.
Concluding overview: More security, better results
I don't see WordPress staging as an add-on, but as the foundation of reliable website maintenance. Especially with security-critical plugins or multi-site networks, I save a lot of time and hassle. Choose the method that suits your project - and use the benefits regularly. The combination of a structured test suite, automated backup strategy and optimized performance and security checks allows you to achieve a professional level that is reflected in the stability and quality of your website.
If you would also like to secure your WordPress site, read Securing WordPress correctly for more tips. Combined with a staging environment, this provides the perfect basis for stable, secure web projects.