Skip to content
With a WordPress Staging environment in Plesk, you can safely test new functions, updates or designs - without any risk to your live website. In this article, you will learn how to create, manage and go live with a professional staging site in just a few clicks.
Key points
- Error-free testing thanks to a copy of the live site as staging
- Simple setup with the WordPress Toolkit from Plesk
- Push to Live: Set checked changes live
- Safe environment for collaboration with team members
- Conserving resources through targeted management of subdomains
Why a staging environment for WordPress?
A Staging environment is an exact copy of your active WordPress site. It allows you to make changes in a secure environment - without affecting your visitors or your SEO ranking. This is particularly important for major updates, new plugins or theme changes.
You discover errors and conflicts early on and can fix them before problems become visible online. This helps to avoid costs and frustration, especially for WooCommerce sites or editorial platforms with high levels of activity. This ensures uninterrupted operation and professional quality assurance.
Separate staging systems also allow developers, designers and editors to work productively - without access to the live site. In this way, ongoing operations remain stable. In addition, extensive redesigns or plugin tests can be checked in peace before they become visible. Even if you are a one-person team, you benefit from the additional security and practical workflow: First try it out, then implement it.
A staging system can also help to further professionalize your work process. You can develop comprehensive test plans, work through potential conflicts in advance using a checklist and go live with the final changes at the click of a button. This increases your reaction speed for technical updates and gives you time to analyze common sources of error.
Advantages of the Plesk staging environment
Plesk offers a WordPress toolkitwhich simplifies the setup of the staging environment. This means you don't need any additional plugins or server tools to safely test different WordPress versions. Changes can be compared and managed in one interface and transferred to Live if required.
Compared to manual methods, you save many steps when cloning databases and files. Plesk is therefore a time-saving alternative, especially for frequent testers and agencies. Even beginners can create a functioning staging site in no time at all.
If you would like to use Plesk, you can find it at Install Plesk WordPress a compact installation guide for WordPress. There you will learn step by step how to configure your hosting for WordPress so that all the important functions are available to you with just one click.
The toolkit also impresses with its clear, intuitive user interface. You have an overview of all your WordPress installations, can update, install plugins, swap themes and perform security scans at the click of a mouse. These integrated features make it easy for you to work close to the system without having to invest time in external tools or tutorials. Plesk also supports the import of SSL certificates or the setup of an automatic security check.

Requirements for your WordPress staging setup
Before you start, you need a few basics. First you need a Web hosting with Plesk. Make sure that the package offers enough storage space for a second WordPress installation. Your WordPress site should also already be set up in the hosting.
You should also have access to your Plesk interface. Optionally, a subdomain is useful - for example staging.your-domain.com. This keeps the test site invisible to visitors and separate from the live system. Don't forget: Plesk must be installed correctly for the WordPress Toolkit.
If you want to manage multiple projects, make sure that your hosting package provides sufficient resources for each additional staging environment. For large projects with many files or extensive images, it may be worth upgrading to a hosting product that provides you with more storage space and CPU capacity. This will ensure that your test and live systems run smoothly. Structuring your subdomains properly can also help you to keep an overview.
In companies or agencies, it can also be useful to create dedicated developer accounts and define corresponding access rights. This ensures that only authorized persons have access to the staging environment and can participate in the processes.
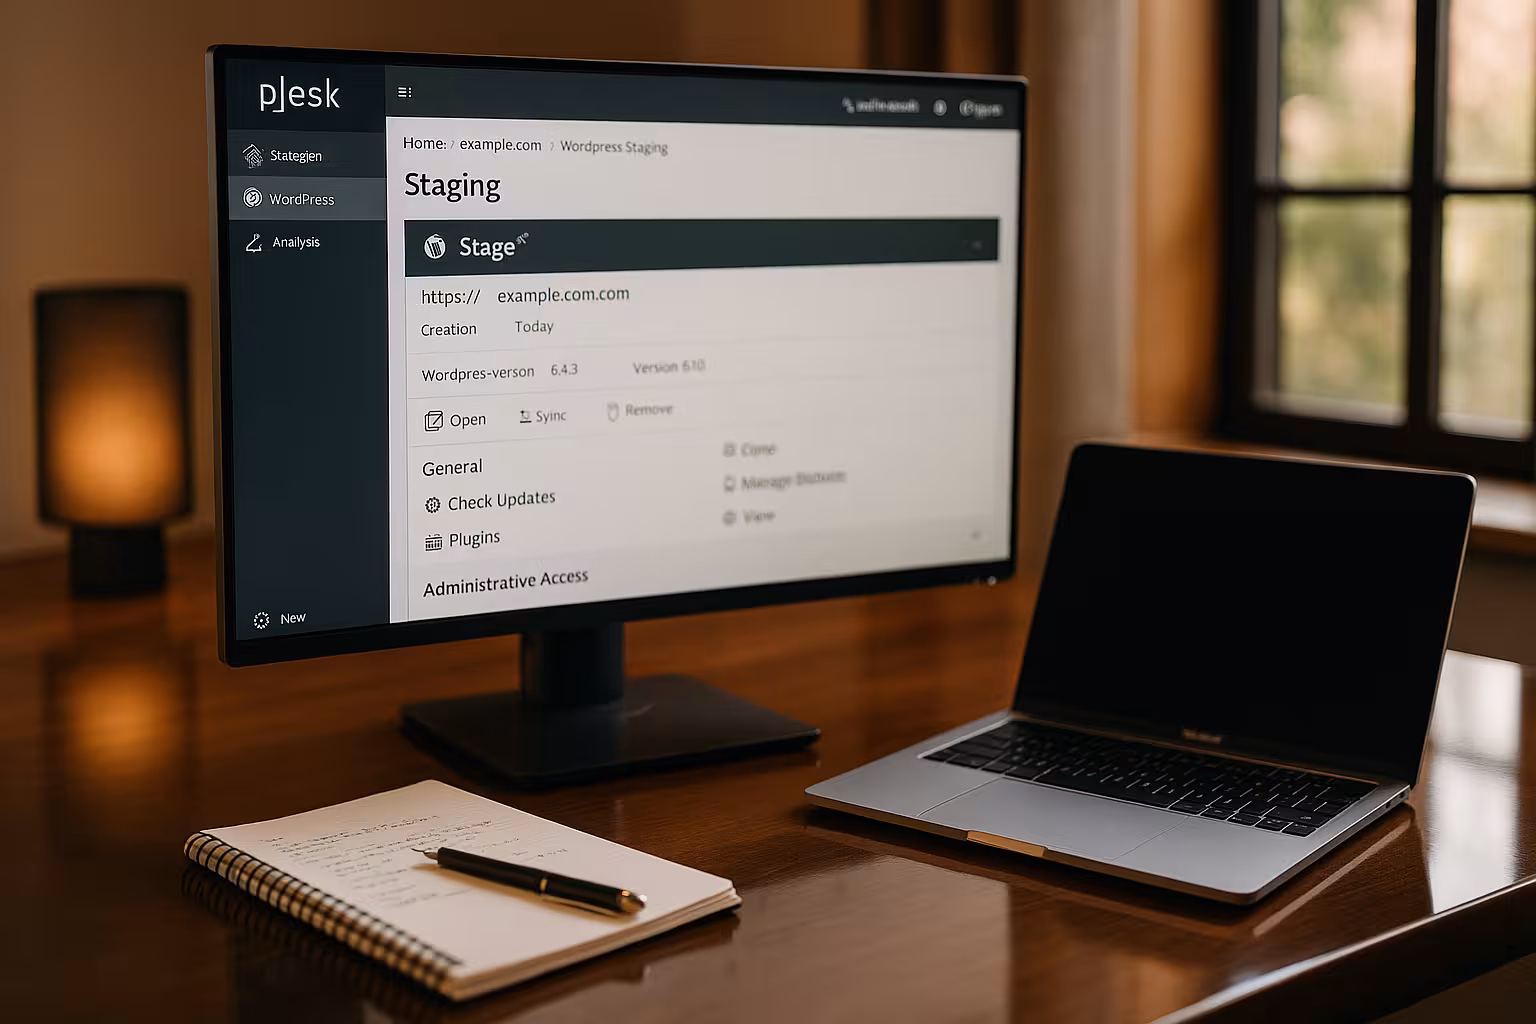
Setting up staging with the WordPress Toolkit
Plesk makes it easy for you to create a new environment for testing. With the integrated toolkit, you can transfer your WordPress site with just a few clicks:
- Get in touch with Plesk and open "Websites & Domains" or the "WordPress Toolkit" directly.
- Select your live installation and click on "Clone" or "Staging".
- Automatically or manually create a suitable subdomain such as staging.yourdomain.com.
- Start the cloning process. Plesk copies files, database, themes and media automatically.
- Block indexing by search engines - via the toolkit or the WordPress settings under "Read".
Depending on the size of your website, the cloning process takes a few minutes. You will then have a fully functional clone of your site - ready for testing. Especially with multilingual websites or installations with many plugins, the process may take a little longer. After completion, check that all content and menus are correctly accessed. If you notice that some plugins have not been copied or error messages appear, repeat the process if necessary or check your file permissions.
It is also important that you exclude the staging site from search engines or set it up as password-protected immediately after cloning. This ensures that no duplicate content appears that could affect your SEO ranking. If you wish, you can also activate your own design or individual functions only in the staging environment in order to focus on specific areas of development.
"Push to Live": making changes live
After successful testing, you can transfer the new functions directly to the live site. The toolkit offers "Push to Live". You can choose whether you want to update only files, only the database or both.
Plesk also allows you to set a restore point - an important security feature. If something does not work as desired when going live, you can easily restore the last status. Then check whether image paths, internal links and plugins have been transferred correctly.
You can find more tips on optimizing your environment in the article Optimize WordPress staging. It is generally advisable to create testing scenarios: For example, use the staging system as a secure basis for theme updates, plugin updates or switching to a new PHP version. PHP updates in particular require special care, as outdated themes or plugins can lead to conflicts.
Incidentally, you can carry out the live switching process in several stages. For example, you can first update only the new code (files) and then check whether your theme is displayed visually error-free. The database is only transferred in a second step. In this way, you can find out more quickly exactly where problems could occur.
If you make frequent changes, it is advisable to keep documentation. This way, you can always keep track of which steps you have tested and in which order. If unexpected errors occur, this will make troubleshooting easier.

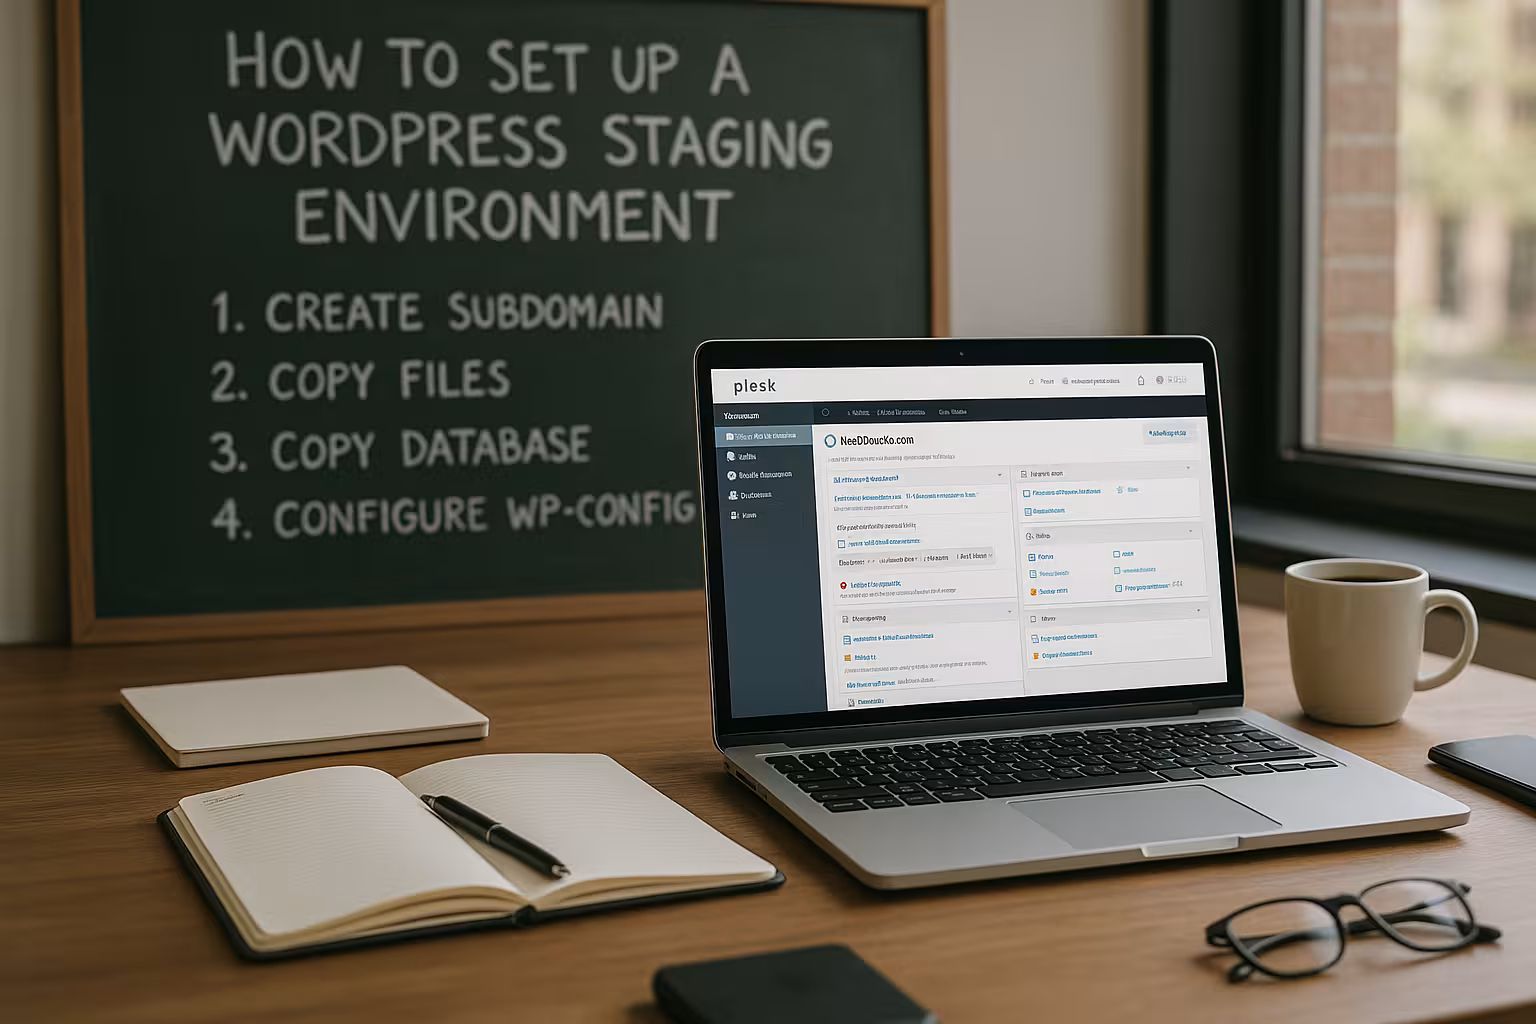
Manual WordPress staging in Plesk
If the toolkit is not available, you can set up the staging environment manually. This requires a little more effort, but works reliably:
Use the Plesk dashboard to create your own subdomain such as staging.yourdomain.com to. Then copy the entire content of "httpdocs" to the new directory in the file manager. Clone the WordPress database and change the file wp-config.php the new access data.
After these steps, open your staging page in the browser and check that everything loads correctly. Make sure that paths and URLs point to the subdomain and that there is no connection to the live system. If necessary, leave cache plugins deactivated to minimize the impact on tests.
Manual staging is particularly suitable if you want to have finer control over all work steps or if your hosting package does not support the toolkit. However, in this case you are responsible for copying database tables correctly and updating paths. A little tip: Use a search and replace tool to automatically adapt the URLs in the database to your staging environment. This way you can avoid typing errors or forgotten URLs.
It is worth creating a backup of your live system in advance, especially when proceeding manually. If you accidentally make changes to the live database, you can quickly restore the original status. Incidentally, you can also use different versions of the wp-config.php to activate different debug modes for staging and live, for example.
Best practices for successful staging
For a professional environment, you should have some Basic rules take note. This saves resources and reduces potential sources of error:
| Recommended measure | Why it makes sense |
|---|---|
| Activate maintenance mode only when required | Live content remains constant, staging can be synchronized |
| Deactivate cache plugins | Avoids incorrect display or tests |
| Create a backup before each push | Fast recovery in the event of problems |
| Do not allow e-mails to be sent | Avoid customer data or test mails |
| Delete staging projects regularly | Removes contaminated sites and saves memory |
In addition to these measures, it makes sense to establish a clear project structure. New plugins, themes or scripts are often tested in staging environments. To maintain an overview, you should label them or collect them in a separate folder if possible. Regular reviews allow you to remove unused components, which in turn increases the overall performance of your system.
Communication within the team also plays a major role. If you work together with developers, designers or editors, a clear allocation of roles is helpful. Defined workflows and coordinated test plans allow changes to be released more quickly. Depending on your needs, you can restrict access for certain people or release it specifically, which reduces the risk of unwanted changes.

Problems and their solution
A common error: The new subdomain is not found after setup. In this case, check the DNS settings. If you use services such as Cloudflare, you must also create the subdomain there. Wait a few minutes or clear the DNS cache locally.
Longer cloning processes occur especially with large WooCommerce sites. Let Plesk work in the background and do not refresh the view unnecessarily. Then confirm that all content is present. Links and image paths must be transferred correctly - check this specifically. You can find further functions in the Toolkit extension for WordPress in Plesk.
Another common problem is Error messages for outdated plugins. Sometimes it can happen that certain plugins no longer run in a current PHP version or that outdated data in the database causes conflicts during cloning. In such cases, it is advisable to update the plugins individually or deactivate them before the cloning process. This will reduce the sources of errors. You can then check in the staging environment whether the plugin can be installed correctly.
If you use the manual method, it can happen that important tables in the database are not copied correctly. Images may be missing or certain functions may not work. A precise check of the wp-options and other tables helps to find errors. For in-depth logs and analyses, it is sometimes worth activating the WordPress debug mode. This allows you to see error messages directly for testing purposes, which provide you with further information.

The best hosting providers for WordPress staging
Reliable hosting determines the function and speed of your staging environment. Plesk-based systems offer you a clear advantage here. Especially webhoster.de scores with dedicated resources, support and built-in staging.
| Place | Provider | Special features |
|---|---|---|
| 1 | webhoster.de | Top performance, staging included |
| 2 | Provider B | Solid performance, limited support |
| 3 | Provider C | No standard staging, often additional costs |
Of course, it is also worth taking a closer look at aspects such as database performance, server location and additional services such as daily backups or SSL certificates. Many hostings now offer extensive optional tariffs with which more RAM or higher CPU performance can be booked. For rapidly growing websites or stores in particular, it is advisable to invest a little more performance right from the start to ensure that both live and staging sites run smoothly.
Even though performance plays a key role, you should Quality of support should not be underestimated. Competent help can make all the difference, especially when setting up a staging system. Find out how quickly and to what extent your potential host responds. Sometimes chat or telephone support and personal assistance are worth their weight in gold when it comes to complex staging problems.
Briefly summarized
A well-equipped WordPress staging environment gives you security, flexibility and better control over website changes. With Plesk and the WordPress Toolkit, implementation takes just a few minutes - even without in-depth prior knowledge. Errors can be rectified in a controlled manner before they go live.
The staging function remains indispensable for professional web projects. And with a good hosting package, you can save time, memory and effort. Start now and take your WordPress processes to a new level. Especially in times of continuous updates, new security standards and fast-moving design trends, a reliable staging system is a real competitive advantage. Not only do you have full control over your website, but you can also handle changes with confidence.
Thanks to the clear workflow - Cloning, testing, pushing - you save resources in the long term and reduce the risk of unnecessary downtime. Your team will also thank you for allowing them to try out new ideas without jeopardizing your live site. All in all, nothing stands in the way of a smooth, professional performance.